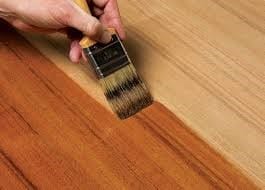
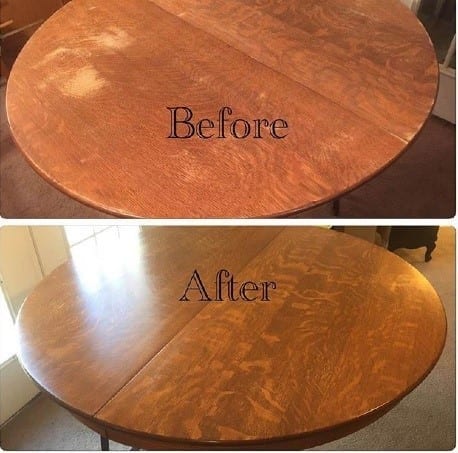
Varnish is more than just a way to shine wood surface. Varnishing wood will preserve its finish or paint and will let the natural grain of wood show. It is also a way to seal the wood so that water and the elements can’t penetrate. It makes wood waterproof so it is safe from molds and rot. This guide will show you how to apply varnish on wood.
Varnish application basics
Applying varnish takes patience, the right tools, and the right techniques. The easiest and the most effective ways to apply varnish will be discussed in this guide.
You’ll need the following
- Protective gear (gloves, mask, and goggles)
- Oil-based varnish
- Acrylic Varnish
- Paintbrushes
- Turpentine
- Water
- Rags
Instructions
1) Prepare the area you will work on
Source: https://www.shutterstock.com/search/varnish
Choose a well-ventilated and well-lit area. Having good ventilation will help remove strong fumes that are usually present in chemical finishes and varnishes. The area must be clean and dust-free to avoid contaminating your varnish application. If you are working outside, avoid windy days.
Take note of temperature and humidity. The temperature should be between 70 °F and 80°F because it’s too hot, the varnish will dry too quickly. This can result in tiny air bubbles on the surface of the wood.
2) Choose the right varnish

Source: https://www.popularwoodworking.com/techniques/finishing/the_basics_of_wiping_varnish2/
Choose the right varnish according to your project and your preference. Oil-based varnishes and polyurethane varnishes, are very durable and have to be mixed with a paint thinner or turpentine. These emit strong, toxic fumes and should be used only in a well-ventilated room.
Acrylic and water-based vanishes can be mixed with just water and have a very low odor. These tend to dry quicker but are not as durable as oil-based varnishes. Spray on varnishes does not require brushes and they do not need to be mixed. These should be used in a well-ventilated area because these emit strong fumes as well.
3) Varnishing the wood
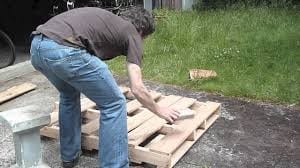
Source: http://blog.espares.co.uk/espares/2016/10/workbench-DIY-tips.html
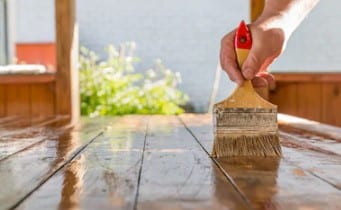
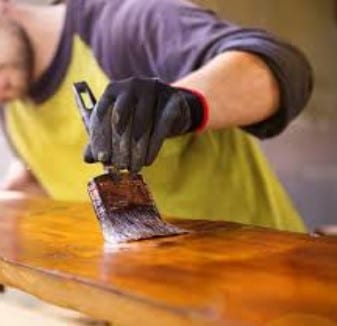
Apply the first coat of thinned varnish and let this completely dry. A flat paintbrush or foam applicator can be used to apply the varnish on wood. Create long, even strokes, and work along the wood grain. You must allow this coat to dry at least 24 hours.
Sand the first coat with 280-grit sandpaper and remove residue with a clean cloth. Use another dry cloth to remove the debris. Apply the second coat of varnish and let this dry completely as well. Use a new clean brush or foam applicator. Brush along the grain and allow this to dry for 24 hours as well. You don’t need to layer this coat so let it dry as long as you can.
4) Sanding your work
Source: https://www.videoblocks.com/video/person-sanding-a-wooden-table-by-hand-to-prepare-it-for-varnishing-tyhjhzr
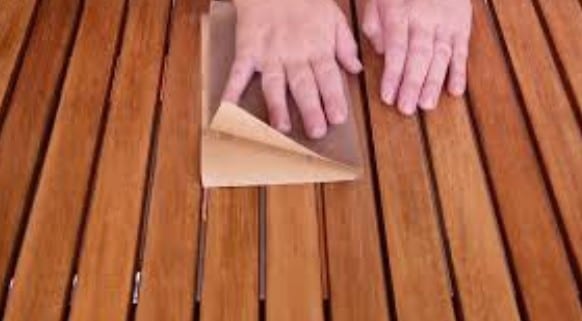
You must sand the second coat using a 320-grit sandpaper. Use a damp cloth to remove all residue and dust from the surface. Sand it gently with fine-grit sandpaper and clean your workspace to get rid of any dust or residue which can collect on the surface of your varnished work.
Keep on brushing more layers of varnish and then sanding between coats if necessary. Apply 2 to 3 more coats of varnish. And when you get to the last coat, do not sand it.
If you are satisfied with working with a 320-grit sandpaper you may now move to a 400-grit. The results will be smoother and more flawless when you move to a finer and finer grit.
Always check the manufacturer’s instructions on how to use the varnish. Some types of varnish require a curing time so you have to add this to the drying time of wood as well.
5) Drying the varnish
Source: https://betweennapsontheporch.net/the-best-way-to-protect-care-for-outdoor-wood-furniture/
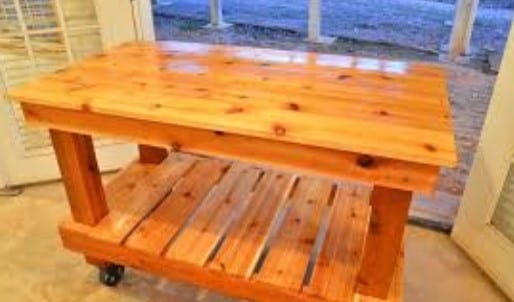
Avoid disturbing your work and running the final piece by leaving your wooden piece in a room or area where it cannot be disturbed.
Some varnishes will take around 24 to 48 hours to completely cure, while others need as long as 5 or 7 days. The longest curing time could be up to 30 days! Check the instructions found on the can or bottle of varnish so check this out before you start working.
Conclusion
Varnishing wood for furniture, walls, and flooring takes time. Some may settle for a single coat while wood used for heavy-duty activities and those installed on high traffic areas should be stained three or more times. Every coat is dried and sanded before another one is applied. Only this way will varnish penetrate deep into the wood and protect it.
