How long after wood conditioner can I stain – people interested in DIY projects or carpentry often ask this question, but do not get a satisfactory answer. Here’s the answer – anywhere from 15 minutes to 2 hours. But as we all know, leaving your wood conditioner for 15 minutes will have a very different effect compared to leaving it for 2 hours. That’s why you need to delve deep and understand the nuances of wood polishing and conditioning. That’s what we will do here today, while answering the pertinent question – How long after wood conditioner can I stain?
Let’s start with the basics:
Why should you use wood conditioners?
Are you a fan of wood? Natural timber is one of the most sought-after materials for interior and exterior designing projects. People can use wood conditioners for a wide range of reasons, but the most common motive is to enhance the beauty of wood.
If you believe in the pure, raw aesthetic of wood, you must be wondering why should they need additional enhancement. While natural wood can be breathtakingly beautiful, it does have its challenges. The biggest challenge is matching the color tone of natural wood to different elements of your home. Wood conditioners solve this problem effortlessly, since you can match the conditioner’s color tone with almost every element in your house, be it indoors or outdoors.
Wood conditioning as well call it has two parts – wood staining and wood conditioning. While you may think that wood conditioner does all the good stuff, it is the wood stain that helps you match the tone of the wood with other things.
The process generally follows a strict pattern. First you use wood conditioner to condition the wood. Then you stain it with a wood stain of your choice. Sounds simple? It’s not.
The basics of wood staining and conditioning
How you use your stain and conditioner can completely change how the finished product turns out. Wood stain, if used incorrectly, can completely ruin the look of whatever you are staining. It can be a simple plank of wood or something more intricate like a chair or table. Wood stains, in general, have a tendency to leave blotches, making the end product look shabby and unclean.
That’s where wood conditioners come into play. The primary reason people use wood conditioners is to ensure no blotches or uneven coverage from the wood stain. If you don’t use a wood conditioner, it is almost certain that the stain will look bad after drying up. After it is dry and permanent, there’s nothing you can do about it either.
Wood conditioners prepare the surface of the wood to better handle the stain. Most woodworkers, if not all, already use wood conditioners to make their projects look better. It helps in bringing out the wood’s natural look while preserving its texture and grain patterns. Most inexperienced people struggle with the question of how long after wood conditioner can I stain. Those with years of experience already know the exact timeframe and work accordingly.
How to use wood conditioners?
Applyng wood conditioner is not as simple as taking a brush and smearing it all over the wood. It involves a few simple yet important steps that we will talk about now:
Step 1
First, you need to prepare the wood and make sure it has no structural faults. By structural faults, we are referring to the blemishes, cracks, damaged parts, etc. One of the best ways of doing it is through careful inspection and basic woodwork equipment like a wood filler.
For example, if you see a tiny hole in your wood surface, you can easily use the wood filler to repair it. For more serious defects, like a long crack or crevice, you should carefully take the wood filler and apply it over the affected area. After that, give it enough time to rest and settle.
Step 2

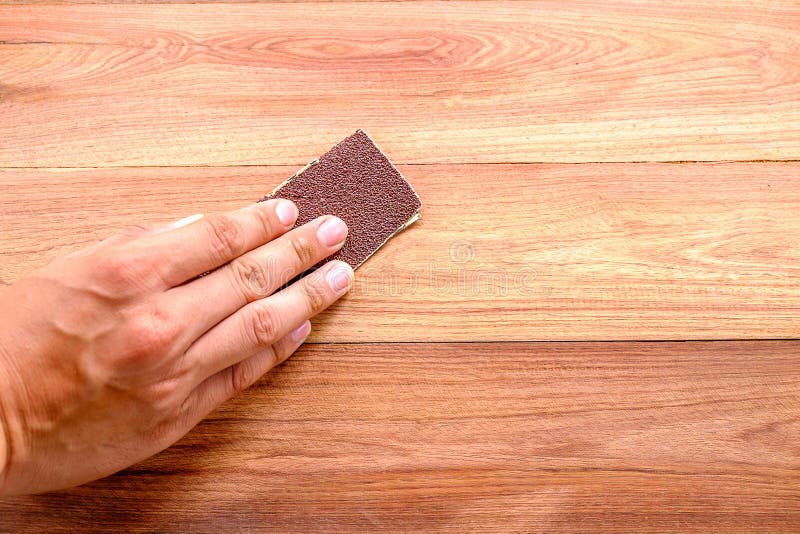
Once you are done with filling part, lightly sand the entire wood surface. Sanding will help in taking care of any small blemishes or spots that might otherwise go unnoticed. On top of that, sanding makes the surface more conducive for the conditioner and the stain.
Step 3

For the last step, vacuum clean the surface to remove all dust and dirt. Once you are done with these three steps, you can proceed with the wood conditioner.
Applying the wood conditioner
Things you need before using a wood conditioner:
- A treated wooden surface
- An oil or water based wood conditioner
- A brush
- A piece of cloth to wipe excess conditioner
- A watch or device for keeping time
Step 1

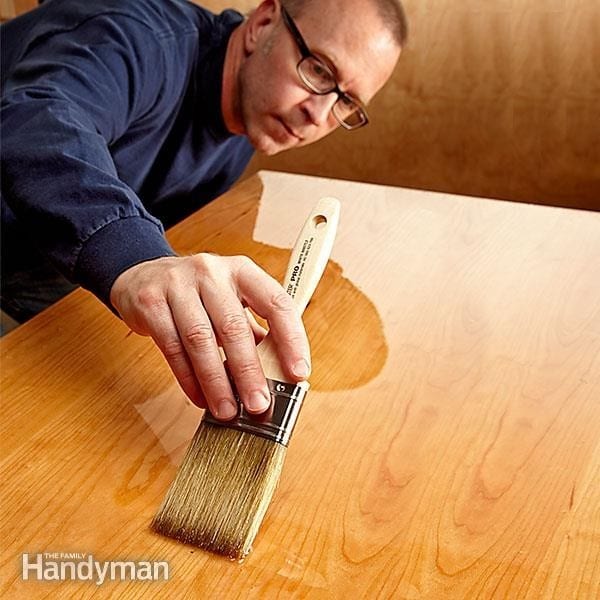
Take your wooden surface and make sure it is clean and treated. After that, take your wood conditioner and apply it all over the surface of the wood. Be very liberal with the conditioner when applying it, making sure that you cover the entire surface area.
Step 2
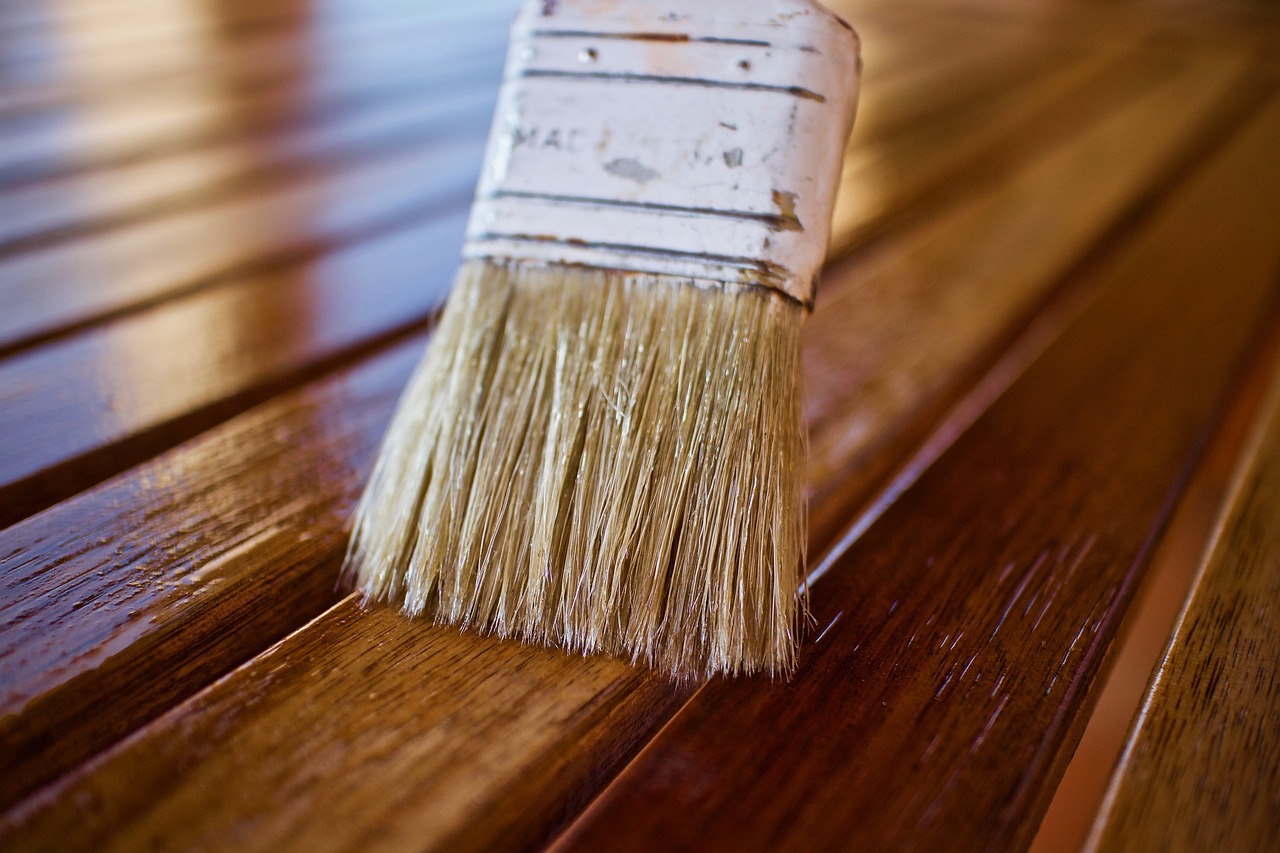
Let the wood conditioner sit for approximately 5 minutes. After that, take a piece of cloth and wipe off all the excess conditioner. Wait for 10 minutes after wiping. Once you are done with the wiping part, your wooden surface should be ready for staining.
But here’s the catch – not all surfaces would be ready in 15 minutes, and not all surfaces would be ready after just one coating of wood conditioner. If you see the wood stain getting absorbed too quickly, you need to apply another layer of the conditioner. On the other hand, you should never let the wood conditioner stay on the wooden surface for more than 2 hours. Doing so will dry up the conditioner and make it very difficult for the stain to work.
Conclusion
We hope this guide will help you apply wood conditioners and stains effectively. If used correctly, these two items can completely alter the way your wooden surfaces look, be it a table or a wooden deck. While natural wood is beautiful in its own right, conditioners and stains can make them even more adaptable for different interior or exterior designs.


