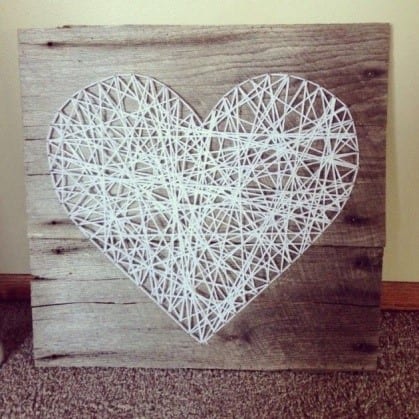
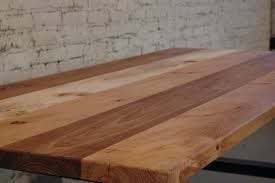
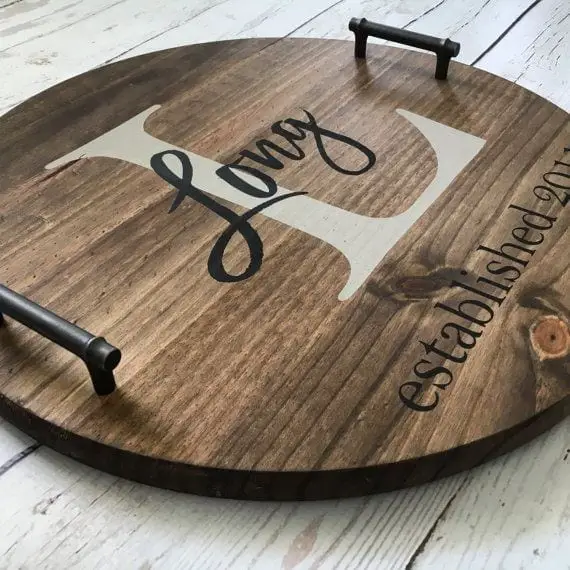
String art on wood is a popular project way back in the 70s but it looks like this is making a comeback. The string art process remains the same but with new and better materials; you can create string art on wood easily. This guide will help you with this decorative technique.
String art on wood made easy
This retro project requires very simple materials and is even very inexpensive. With new printing technologies available, you can now take any image from any source online or offline and convert it into a simple silhouette pattern. You can opt to make your own pattern or design if you don’t want to use a computer generated image.
1) Gather materials and locate an image
Find the following materials for your string art on the wood project
- A piece of wood cut to the size you want to work on; this piece of wood can be stained or painted on if you wish. This piece could also be of any wood species or could also be recycled wood.
- Computer
- Printer
- Tape
- Scissors
- Linoleum nails (how many you need depends on your design or the size of your project)
- Hammer
- Embroidery (in any color you need)
- Mounting hardware (hooks, frame hardware, etc.)
Locate an image to use as your pattern.
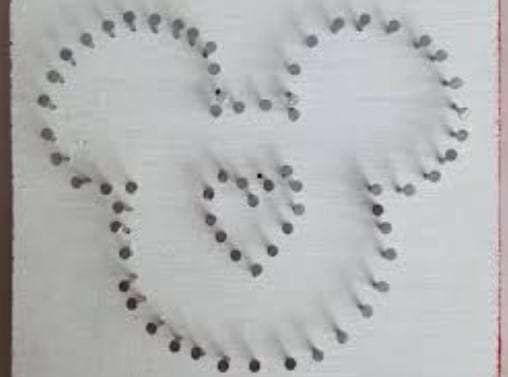
Source: https://thisfairytalelife.com/diy-mickey-string-art/
Take note that this is the most important part of the project. You need an image that is simple, easy to work with and should be available to print. You can search the internet for simple shapes that are easily recognizable like a heart, flower, star, house, etc. You may also find simple designs inside your home. Whatever image or silhouette you find, print it out using your printer. Remember; look for images and patterns that are very simple and straightforward.
2) Outline the shape with nails or pins
Source: https://thisfairytalelife.com/diy-mickey-string-art/
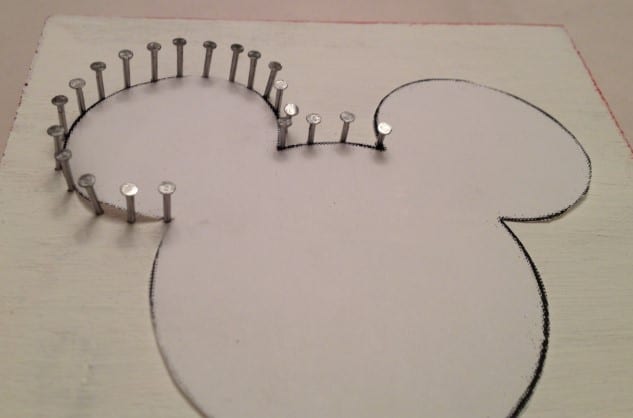
Once you have the pattern printed on paper, position it on the wood surface. The surface should be flat and is easy to work with. Fasten the pattern on the surface using tape. Take the linoleum nails or pins and stick it on the edge of the pattern. Use a hammer to lightly pound the nails. Provide an even space between the nails and make sure that the nails are attached to the wood with the same depth.
Once you are done with putting the nails on the pattern’s edge, remove the pattern printed on paper. Don’t worry about ripping the paper because you don’t need this anymore. The pattern has been placed on wood.
3) Outline the shape with string
Source: https://thisfairytalelife.com/diy-mickey-string-art/
After the pattern has been outlined successfully with the linoleum nails, remove the paper.
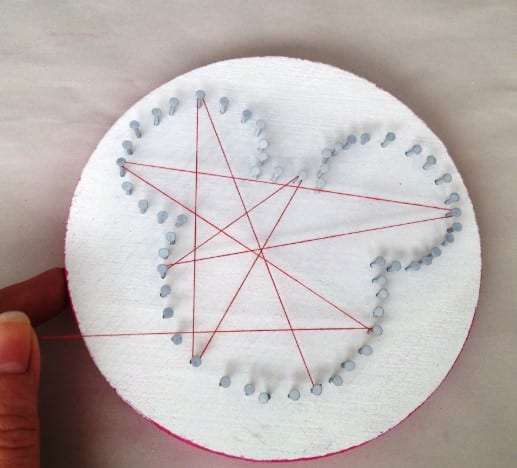
Use embroidery thread to join the perimeter of the shape. Start by tying the floss to the first nail. Leave a tail on the knot so that you can tie this when you are done.
An embroidery thread has six threads. Be sure to use all the six individual threads together. Using only four or five may cause the strings to break especially when you pull the thread taut.
Whenever you reach a corner or you want to change the direction of your movements, wrap the string tightly around that nail. Doing so will keep things tight and maintain the shape of the pattern.
4) Fill in the shape with string

Source: https://thisfairytalelife.com/diy-mickey-string-art/
After outlining the shape of the pattern with string, start by filling the body of the pattern with crisscrossing threads and wrapping this from nail to nail. A good motion is to move from side to side; top to bottom and corner to corner. Vary the lengths and the order of the thread in a random fashion.
If you are about to run out of string, the end where you left a tail of string at the beginning. Knot the ends and start another bundle of the thread as well. Repeat the steps until the pattern has gathered shape and has been filled accordingly. Tie off the end of the thread when you are done.
Cut the tails of the embroidery thread. You are not limited to using only one color of thread. You can use more than one color or use a variegated string instead.
Conclusion
To do string art on wood, create a simple and straightforward pattern. This is easier to follow and can be easily recognized as well. Take time making your project and keep your pattern tight and neat to create a lovely design on wood.
