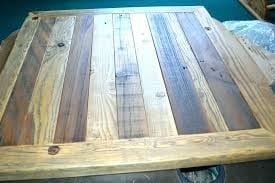
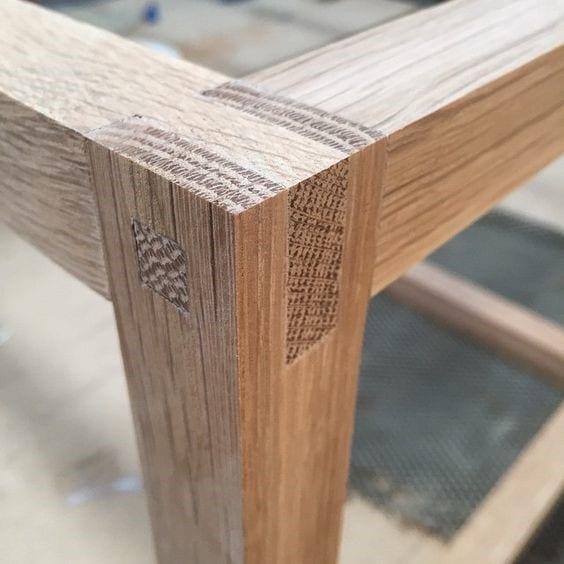
If you want to create a tabletop from narrow wood planks, the planks are typically glued together through lamination. Most glues are not strong enough for holding the wood planks together indefinitely.
In this article, let’s find out more on how to join wood planks for a tabletop.
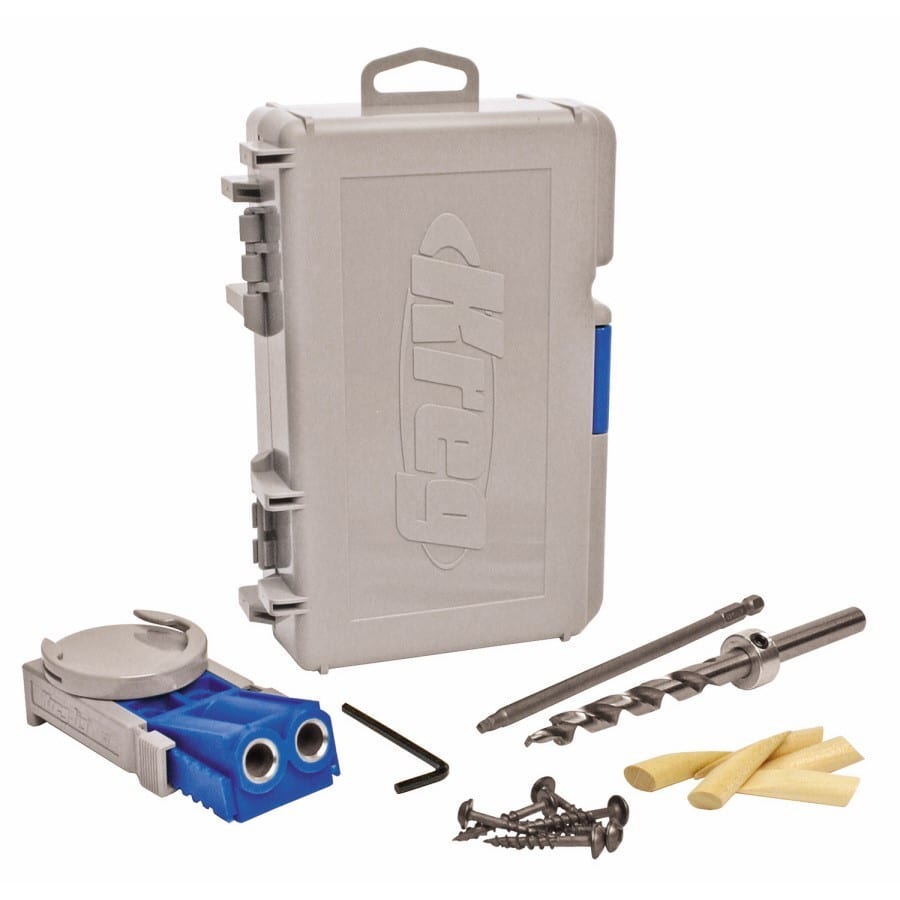
Woodworkers often add reinforcement such as dowels or biscuits (football-shaped wood chips). It is nice to invest in precision tools required for the installation of biscuits or dowels, or you can resort to a simpler and easier alternative, like gluing and screwing cleats to the tabletop’s underside which can double as a substructure so additional legs are added.
What You’ll Need to Follow This Tutorial
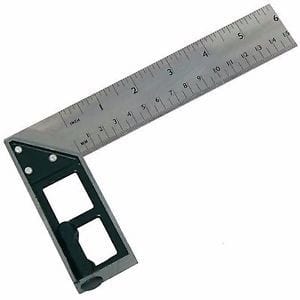
The important things you will need to join wood planks for tabletop include carpenter’s square, table saw, drill, 1 and 1/4-inch screws, workbench, 3 bar clamps, carpenter’s glue, damp rag, pencil, and No. 2 Phillips bit.
Step-by-step Guide to Joining Wood Planks for Tabletop
Step #1
Using a table saw, run the boards to be laminated together to square the edges. Put a new blade on the saw then square it using a carpenter’s square so you can get the cleanest edges.

Step #2
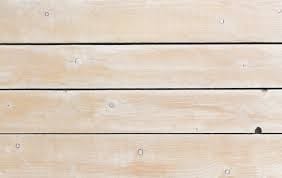
Line the planks up side by side on a clean and flat surface like a workbench. You can arrange them with the grain on alternating wood planks running in opposite directions. Turn the boards over with the good sides facing down.
Step #3
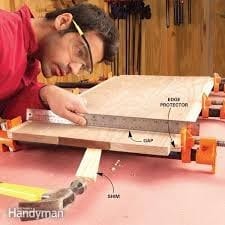
Spread a carpenter’s glue on the board that forms each joint on one edge. After gluing the joints together, you have to push the boards together and then hold them together using bar clamps. At least 3 clamps should be used and place, one on each assembly’s end and one clamp in the middle. Put wood scraps between the clamps stops and the outer board’s edges to prevent the clamps from wood dents. Wiping the excess glue from the wood joints with a damp, clean rag before it dries is done, then let the planks sit overnight. The clamps are removed but do not move the assembly.
Step #4
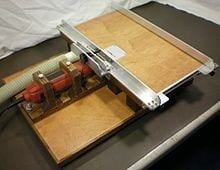
Rip 3 pieces of 1 X 2 inches pine on a table saw, using the cleats for holding the tabletop together. After which, you have to cut the cleats shorter (2 inches) than the tabletop’s width. Arrange them in the same places the clamps are put, one in the middle and one at either end.
Step #5
The cleats are squared using a carpenter’s square so they run parallel to the tabletop ends, and mark the positions using a pencil. Drilling 1/4-inch pilot holes on each one to allow two 1 1/4-inch screws driven into each plank forming the tabletop.
Each cleat is removed, spread the glue on the underside, and put it back then align it with the marks. The next step is driving a 1 1/4-inch screw into every pilot hole. Allow the glue to dry for several days before you move the tabletop.
Tips and Tricks
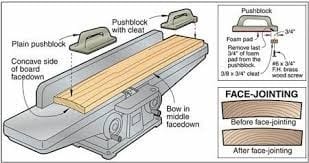
- Using a jointer instead of a table saw for squaring the edges of the planks does a better job.
- Before laminating, square the boards and discard any warped boards.
- If you are planning to create a 10 feet tabletop using 3 ¾-inch thick by 10-inch wide oak boards, you can attach the top of the table to the base by using a simple butt joint. Make sure that the edges are flat, straight, and smooth. Make a good cut if you have a fine blade.
- There should be no slight angle deviation when you’re cleaning the wood edge using a table saw. The first piece is cut on the blade’s right side and the adjoining piece is cut on the left side for a perfect fit.
Other Alternative Wood Joinery Methods
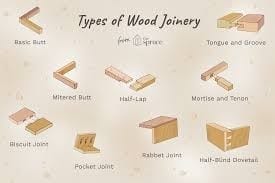
- Finger joints to put two planks together from end to end.
- Dado or rabbit to mount a fixed shelf in the frame of the cabinet.
- For drawer boxes, use box joint.
- Splines and biscuit joinery to make one wide plank from 2 narrow ones.
- To build door frames, use mortise and tenon.
- To make drawer fonts, use rail and style.
- For face frames, use half lap.
Conclusion
There are many ways to join wood planks for a tabletop. You can use dowels, biscuits, or tongue in a groove for proper alignment as well as improve glue strength. Modern adhesives are strong enough to glue the edges of the boards together. Do you find this post useful and helpful? Leave your comment and share this post now!
