#21
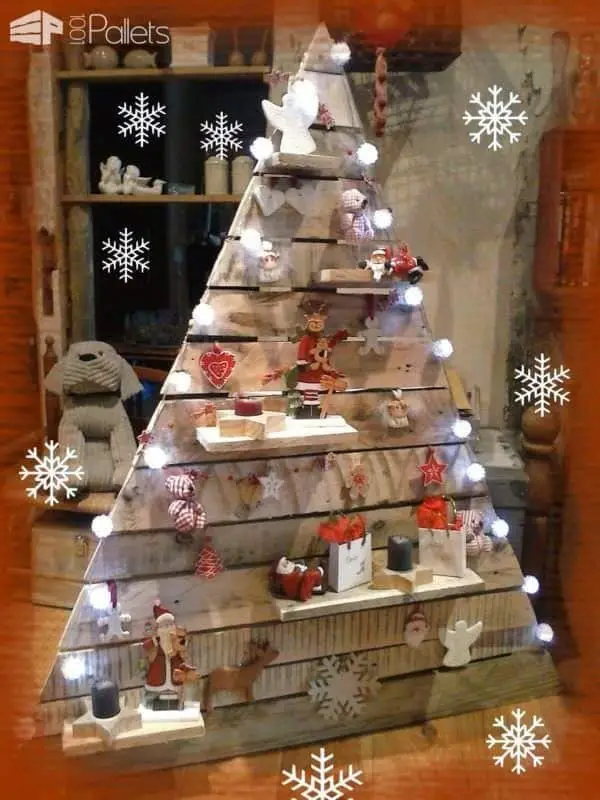
Via 1001Pallets
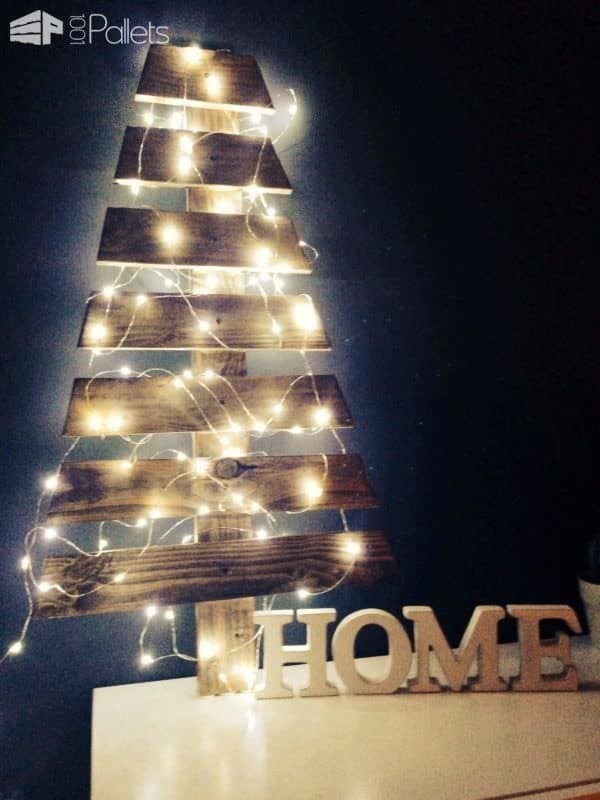
This DIY is easy to do with reclaimed wood and a stringer pallet. When doing DIY’s, especially crafts from wooden pallets, you would generally need basic woodworking tools, here are some that you might have in your tool shed: A screwdriver, a hammer, a handsaw, a chainsaw, wood file, a drill, some sandpapers, wood screws, nuts for your screws, cloves, wood glue, and of course, pallets.
#22
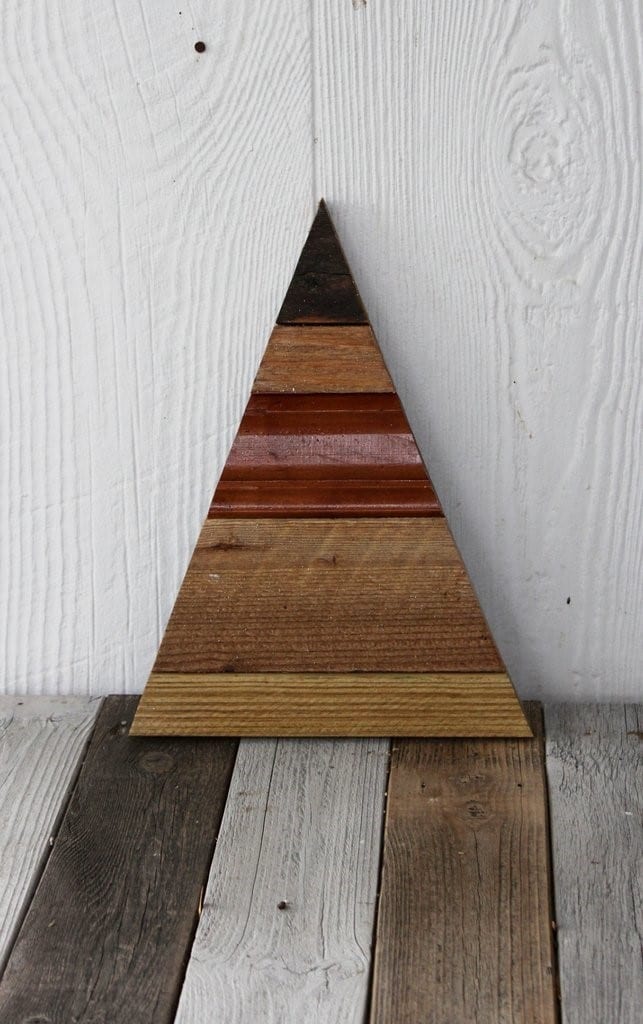
Via thecraftysinger
This triangle wooden pallet is one of the easiest on our list today. All you need is a Sawzall to cut your wooden pallet to the right measurement and you can go ahead and make this easy Christmas tree. When DIY-ing wooden Christmas tree from pallets, you should follow a really easy DIY process.
First, choose the pallet that shows no sign of deterioration, or the still good quality. Because although older and deteriorated ones are easier to disassemble, its wood might be too damaged to repurpose or reuse. If you get a good pallet, you can use up to 40 feet or 12 meters of good wood.
Secondly, as I talked about using Sawzall, you shouldn’t try taking your wooden pallets apart with just regular tools. You can buy a demolition blade as well. Then put some safety measures on like goggles and gloves. It is optional, but you can also use earplugs or ear protectors to reduce the risk of hearing loss.
A bit of advice for you, prop up your pallet vertically and clamp it to a surface. Find the two sides of the slats and start your saw. Cut on one side of the slat until all horizontal slats are cut loose and free of nails. Repeat process on the other side.
#23
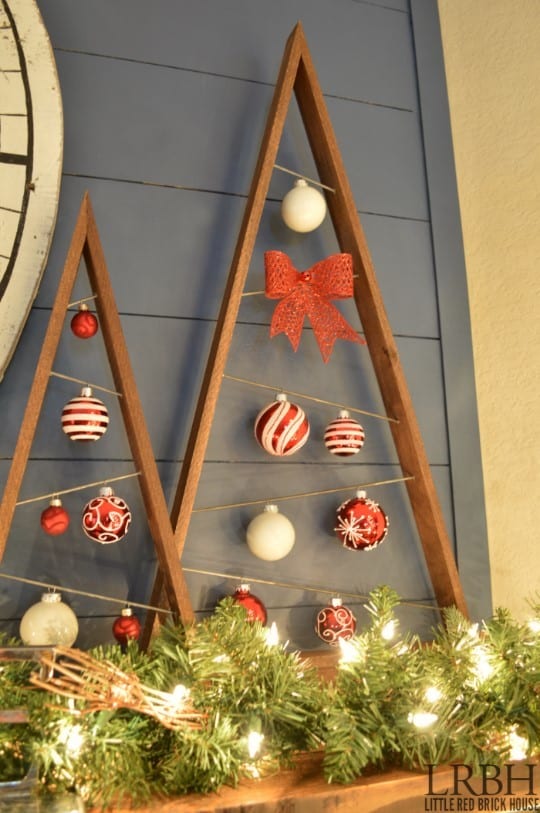
This project requires extensive disassembling of pallets. It is the same as the triangular frame as the first one on our list. To disassemble, most would use a pry or crowbar, a hammer, or wood contraptions to pry the slats of but these poses problems.
One, this is a lot more work when you can spend more of your energy on building your DIY.
Two, doing this, prying apart your wooden pallets, and breaking them down with brute force takes a lot of time. With the need to pull out and prod each and every nail from each slat.
Third, after de-nailing your wooden pallet you may have already damaged your wooden pallet. Spending so much time and energy on it only to have debris everywhere and splinters all over. The short and small pieces that would be left unharmed won’t be good enough for big DIY projects.
#24
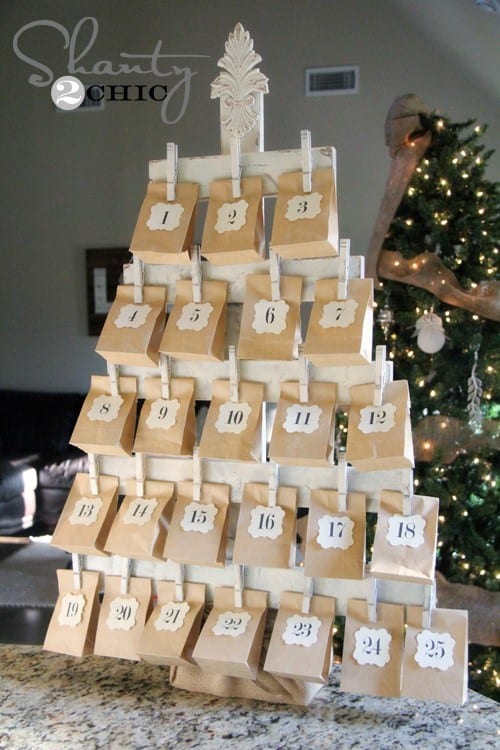
Via Hometalk
If you’re doing your DIY project because of a strict budget, you would benefit from using reclaimed wood and used pallet, so the question is where you get the free pallets and reclaimed wood.
The best places to look for are garden stores and nurseries, lawn shops, shops that specialize in equipment supply and automotive and motorcycle shops. These shops would get their supplies in shipping pallets and crates.
This DIY helps cut on the budget of the tree and instead, you can use it in the spirit of gift giving and have your gifts in bags. Perfect for a secret Santa.
#25
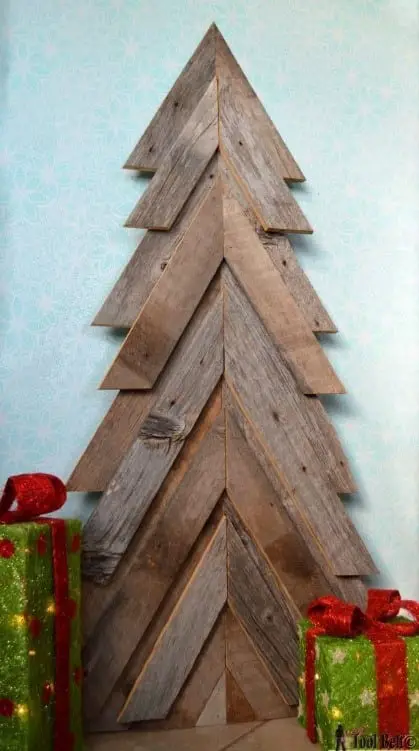
Via Her Tool Belt
This cute and elegant two layered pallet Christmas tree requires a bit of skill in both woodworking and disassembling wooden pallets. If you’re going to go ahead and make this amazing pallet project, it is important to know if the used pallet you’re using is safe to use.
So how do you know if your wood pallet is safe to use for your DIY project? There are possible dangers of using shipping pallets for your DIY projects. If your pallets will be used near foods, you might want to recheck since some pallets have toxic chemicals or have been exposed to some kind of chemical treatment.
Any pallet you find may have been exposed to chemicals and include toxic chemical residue, or it may have been fumigated with toxic insecticides to prevent insect infestation.
#26
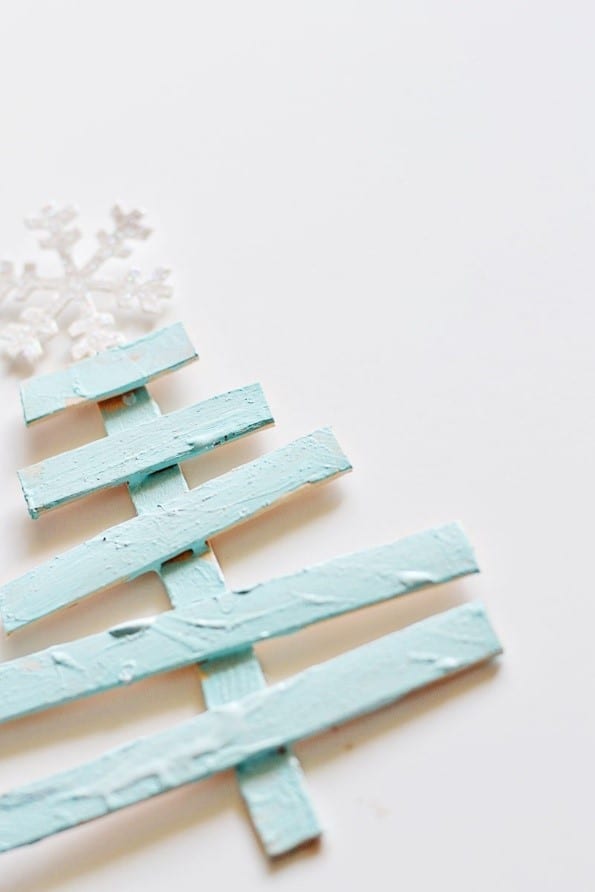
This cute and small DIY Christmas tree made from reclaimed pallets is perfect as a festive decoration in the office or at home. If you’re doing DIY wooden pallets, you should know that the pallets you have or will find would have stamps on them, a council known as IPPC is a regulations council for these wooden pallets, if there are two letters, that would represent an ISO country code. And numbers would represent the certification number.
#27
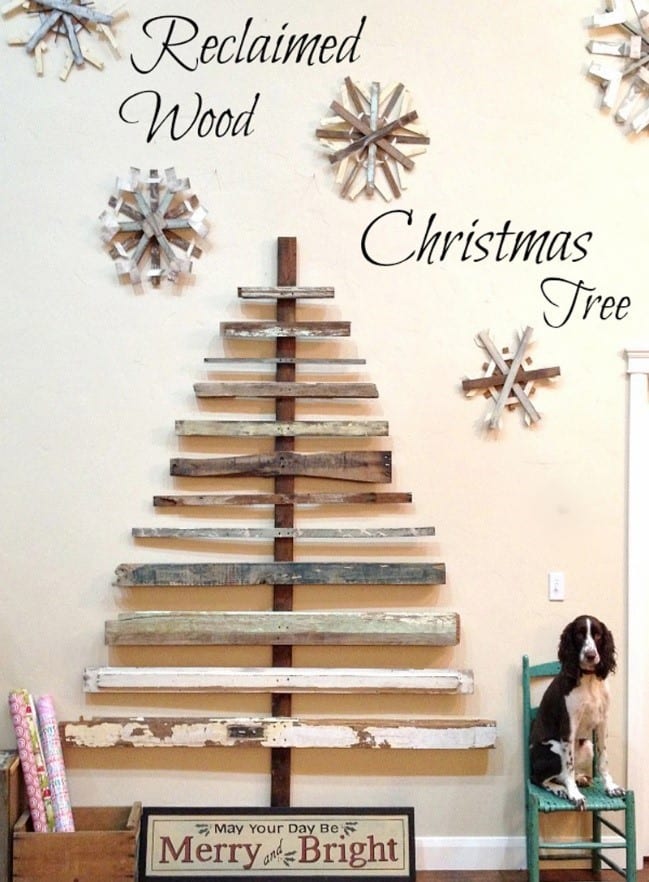
This woodworking project is really down to earth with its design, easy and functional. The wood from your wooden pallet can be used as it is and it would still look as wonderful for the festivities.
If you’re working on a DIY project, whether this one or another. It would be best if you start with the basic woodworking tools.
And importantly, you should have sandpaper and/or sander, it is imperative to sand your furniture for a lot of different reason as aesthetic and safety. Hard-to-remove varnish, lacquer and other multiple layers of paint can be removed with low-grit sandpaper. Have wood putty and putty knife handy as well to cover any dents, cracks or dings.
So, if there are small chunks of wood that needs to be filled in you can do so with a putty. A primer is also important to have. Before painting your DIY furniture, you must first apply primer on it or you can opt for the paint with primer. This helps the paint stick to the wood better and ensures the colors.
If you are using dark colored paint you better use a gray primer, if you’re painting your furniture light, then purchase white. Depending on the condition and original color of the wood, you may need or want to apply up to three layers of primer.
You should also have brushes and paint in hand if you’re doing your DIY from scratch a.k.a wooden pallet but purchase just enough for your project. Lastly, you should have varnish and to help finish your DIY project and protect the furniture from external elements.
#28
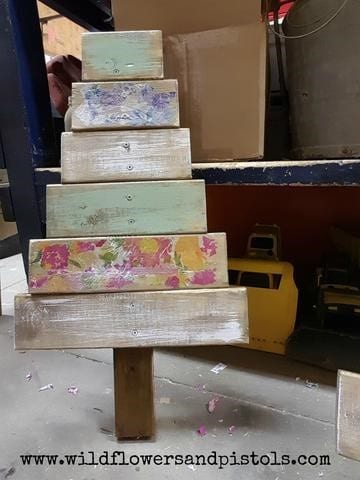
In this project, you can add as many slabs as you like to make the tree taller. But having a small Christmas tree is also perfect for decorations inside or outside your home.
One additional tip when working on your DIY pallet: you should check your wooden pallets, here is a quick guideline on doing it: first, determine if it is relatively clean without any signs of spills or leakage of either oil, food or unknown substance.
Second, you should look at the stamp and markings on the pallet since almost all pallets do have stamps that can be found on one of its sides. It would be good if it has the IPPC logo or the International Plant Protection Convention as it will not carry invasive species or plant disease.
If it has the stamp of HT or heat treatment, then it was heated for at least 30 minutes and is safe to use. If it has the stamp MB for Chemical Fumigation, do not use it anywhere near food because it was fumigated with a chemical called methyl bromide.
Lastly, you can find a DB or debarked mark on pallets and it means that it was debarked under IPPC rules and regulations. So, if you’re going to use a pallet, use the one with HT stamped on it.
#29
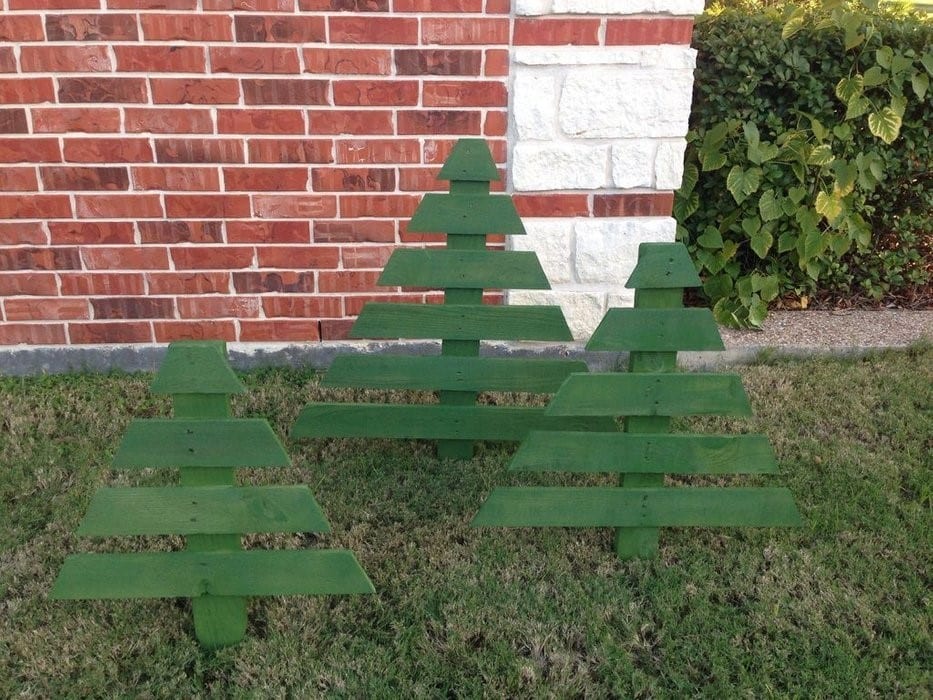
Via Instructables
These green pallet trees only require one to three pallets and would not cost much with regards to design. All you need is patience, some woodworking skills, and green paint.
You can get creative and use ornaments from your attic. One tip when working on your DIY Pallet project: you should always have a tape measure since DIY-ing your furniture would need this plan and measurements.
This is an essential tool, but you might also want to get a T-square. Next, you should already have screws and nails, these come in a variety for different DIY projects but for this, you would particularly want wood screws. If you’re getting screws, you should have a screwdriver too. This handy tool is a must for any toolbox, so you should already have one.
List of tools that could be helpful for your next pallet project:
Prybar, chop saw, wood chisel, clamps, nail punch, hand plane (smallish), Sawzall (to get the pallets them apart), draw knife, bolt cutters, spokeshave, custom built prybar, pallet tool and vice grip
#30
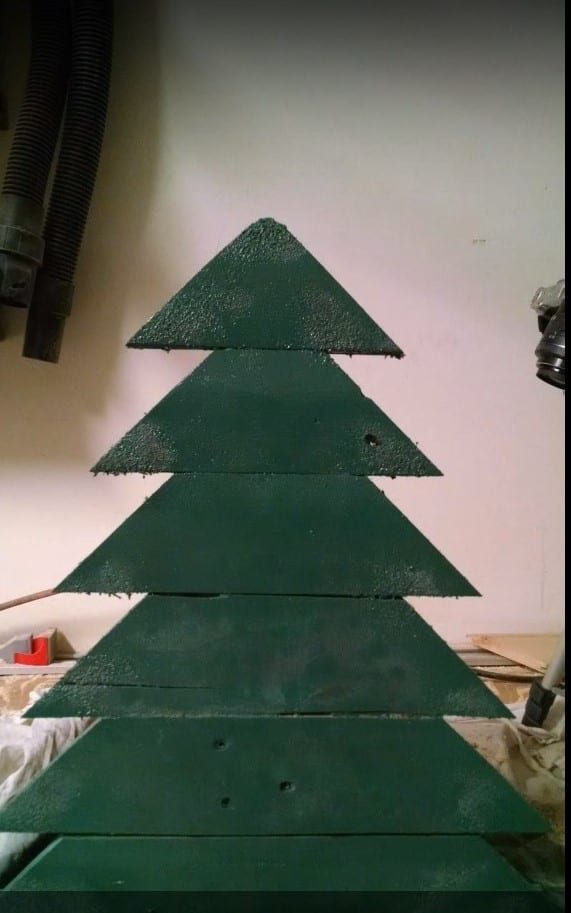
Via 2 YouTube
For this pallet tree, you will need to several planks of different length cut to 30 degrees at both ends. You can use scrap planks or disassemble them from a pallet and then assemble it to shape a pine tree. After some finishing touches, this simple craft is best for your outdoor Christmas tree decoration.
