21) Folding Sawhorses by Asa Christiana of Fine Woodworking
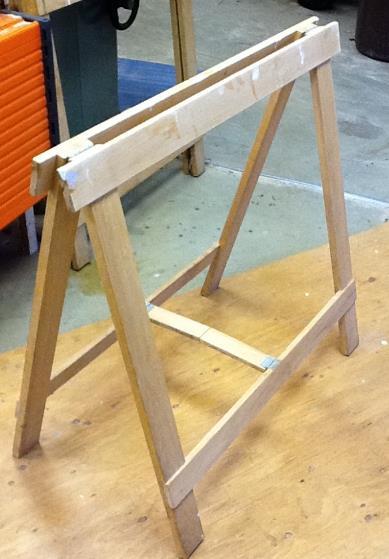
This sawhorse plan is made of maple which is great because it is very strong yet can be thin. The real joinery includes shallow rabbets and dadoes where the cross-pieces sit in, giving extra load-bearing strength. These folding sawhorses can support up to 1,000 pounds and you can pile dozens of heavy boards without issues. The advantage of these sawhorses is the folding features that hinge at the middle and ending to fold upward.
The builder constructed these sawhorses 8 years ago. These sawhorses are simple to make. Building your own sawhorses is a good idea that your children and grandchildren can inherit and use in the future. You can use available resources and tools for an inexpensive sawhorse project.
Helpful Link:
https://www.finewoodworking.com/2012/02/09/folding-sawhorse-stows-away
22) Clever Trihorse Sawhorse Design by David Frane of Tools of the Trade
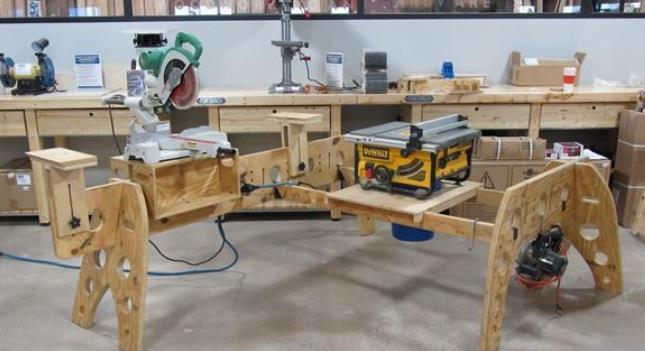
This sawhorse design was created by Brian Campbell who is a finish carpenter in Minnesota. He posts photos of his very own sawhorse workstation that he created in the hopes of turning it into a sellable product. It is called “tri-horse” because each sawhorse has 3 points of contact with the ground. This sawhorse can be broken down and stored flat for transportation. It can also be set up in various ways. You can make one for yourself and don’t worry, this sawhorse plan is completely customizable.
Tri-Horses are actually shaped like sawhorses. You can use them as such, but also can be used as saw stands or to support work tables. The primary material used include a double-layer of ¾ in. plywood or MDO. The two sheets of plywood are just enough to make one 4ft. and one 8 ft. They are simple to make. Basically, the process involves cutting, drilling, nailing, and gluing. The weight of this sawhorse is greater than the average sawhorse. This is a clever design that can also be appealing to you.
Helpful Link:
https://www.toolsofthetrade.net/power-tools/clever-home-built-saw-horse-work-station_o
23) DIY Sawhorse by Chigwell Building & Joinery
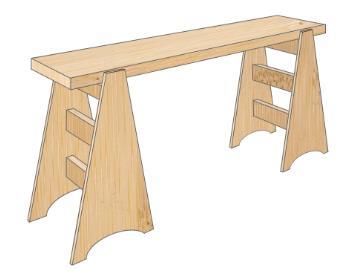
If you are regularly involved in woodworking DIY projects, so there is no doubt that you have had many experiences where a sawhorse saved you a lot of effort and time. A lot of retail sawhorses are expensive, bulky, and impractical. This is an ideal home woodworking project that involves the simple building of a multi-functional sawhorse with the use of a single sheet of 8 x 4 inches 18mm plywood. It that will do more than a single job, giving you a stronger frame that you can use for cutting large sheets of plywood or MDF, long lengths of timber, and will act as a sturdy scaffold platform.
This design will take your weight when it comes to hard-to-reach tasks indoors. You need a full 8 x 4 inches sheet of 18mm plywood. MDF is not suitable for this project because it is not strong enough. You will also need boxes of 1 inch and 1.25-inch self-tapping wood screws, a circular saw or jigsaw, an electric screwdriver, and wood glue. The process involves cutting to create panels, nailing and gluing.
Helpful Link:
https://www.cbjltd.co.uk/news/how-to-build-a-plywood-sawhorse
24) DIY Sawhorse Table by Home Depot
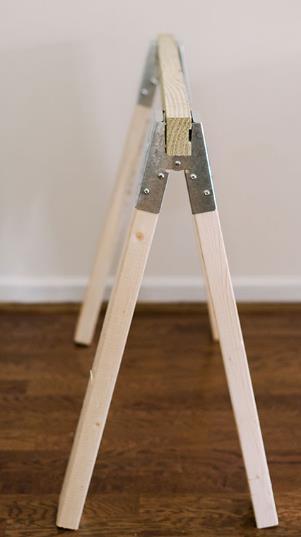
This is a DIY sawhorse table and you will need a hollow core door, sawhorse brackets (2 packs), two 2x4s cut into pieces (271/4 inches) to yield 8 legs, spray paint, sealant, and paintbrush. The construction process involves sliding the first 27 ¼ inch piece of wood into the sawhorse bracket then sliding the second one. Repeat this step for the rest of the brackets. It is indeed easy to follow and construct.
When it comes to the painted legs, mark from the bottom of each sawhorse about 10 inches, marking all four sides and using painters tape for marking off the wood. You can place the wood in a well-ventilated area. Avoid over-spraying the bare wood when spraying the legs. Next, carefully remove the tape and wait for about an hour prior coating it with an outdoor urethane.
Helpful Link:
http://blog.homedepot.com/diy-sawhorse-table-tutorial/
25) Built-It-Yourself Sawhorse by Construction 101
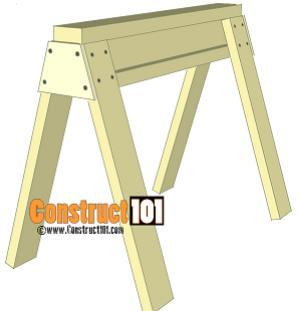
This DIY sawhorse includes the following materials five 2×4 lumber 8ft, scrap plywood, 3 inches deck screws, and scrap plywood. For the construction process, cut the six 2 by 4 to 32 inches long. Build an I-beam using 2×4’s and 3 inches deck screws for assembling the I-beams. Next, cut the eight 2×4’s to 26 ¼ inches for the legs. You can drill pilot holes on the sawhorse legs, assembling them with the use of 3 inches deck screws. Cut the scrap plywood to size, attaching to the sides with the use of 3 inches deck screws.
The skill level in building this sawhorse is intermediate. While you can use available boards or plywood in your area, it is important to follow the exact dimensions for the expected result. Now, you are more confident building your own sawhorse that your children or grandchildren can also use in the future because of its superior durability and practical use.
Helpful Link:
https://www.construct101.com/sawhorse-plans/
26) Samurai Sawhorse Plan
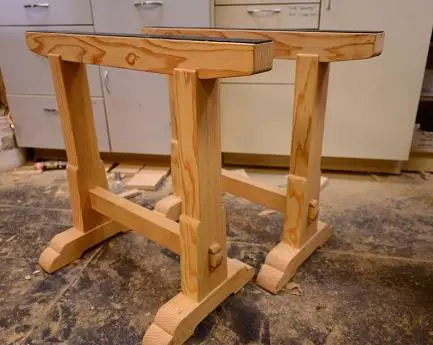
When it comes to building this Samurai Sawhorse Plan, the materials you will need include four 4×6 4′, four 4×4 4′, one 2×4 6′, and one 2×2 2′ for hardwood wedges. The tools you need are miter saw, table saw, hand saw, router, drill, drills, thickness planer, and hand tools. Glue is not needed for this project if the joints are tight because of the joinery style used in this project. You may still used glue as preferred. The builder recommends using a hardwood or semi-hard for these sawhorses.
This plan is not suitable for beginners. While this is a great project, the drawings and instructions are quite challenging. This sawhorse plan has plenty of joineries. It is important to know what you are doing to build this sawhorse. However, this is a great sawhorse plan if you want a challenging job.
Helpful Link:
http://samuraicarpenter.com/wp-content/uploads/2015/06/Craftsman-Sawhorses.pdf
27) Sawhorses by Jimmy Diresta
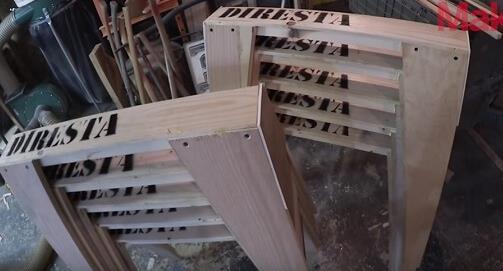
Jimmy Diresta creates a lot of videos and among these include the 10 sawhorses that can be seen in a very nice edited video. The builder used plywood for sawhorse the legs and 2 by 4 for the beams. These sawhorses plans are easy to build. If you are not bothered using plywood, then this sawhorse plan is for you. Building a sawhorse does not need to be expensive, you can use available materials at home. This will surely save you money than buying ready-made sawhorses.
Helpful Link:
https://myhomeimprov.com/diy-foldable-sawhorse/
28) Replaceable Inserts Save DIY Sawhorses by Woodsmith Tips
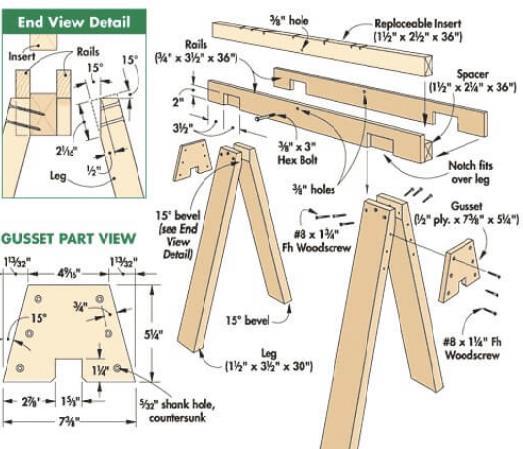
These sawhorses are just like others and they also get chewed up with long use. The difference with other sawhorses is that these sawhorses have a replaceable insert which is made from 2x stock. Once the insert is riddled with saw kerfs, you can just simply replace it. You can save floor space by stacking them together and these are also stable.
Forming an opening for the insert involves two rails and a spacer in between that are made of ¾ inch thick stock. The rails are notched, making a socket for the sawhorse legs to fit into. Once you cut the notches, clamp and glue the rails and the spacer together. For the insert, cut to size from the 2x stock. It is held in place using a bolt, passing through a hole that is drilled in the insert and the rails. These sawhorses are supported by 2×4 legs nesting in the sockets in the sawhorse rails. Attach a ½ inch plywood gusset to the ends of sawhorses to prevent racking.
Helpful Link:
http://www.woodworkingtips.com/etips/2007/02/23/wb/
29) Light and Strong Sawhorses by Fine Woodworking
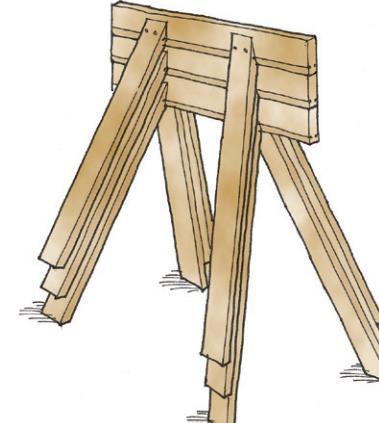
These sawhorses are lightweight and very sturdy. The design never fails the builder. They are stackable and you can store an entire lot in a single stack. You can attach the legs using a scarf joint clamped, screwed, and glued. The added spline to the joint boosts strength and maintains the right angle for the splay while assembling. Adopt this sawhorse plan using your easy to intermediate carpentry skills.
The tricky part is cutting the scarf. You will need a jig, miter, clamp, and table saw. You need to miter the ends of the legs with 15 degrees with a compound miter. Clamp the legs in the jig and cut the cheeks using a table saw blade vertically set. This is a clear and easy to understand diagram of sawhorse with stability, portability, and durability.
Helpful Link:
http://www.finewoodworking.com/FWNPDFfree/Stacking-Saw-Horse.pdf
30) Heavy-Duty Sawhorse Plan
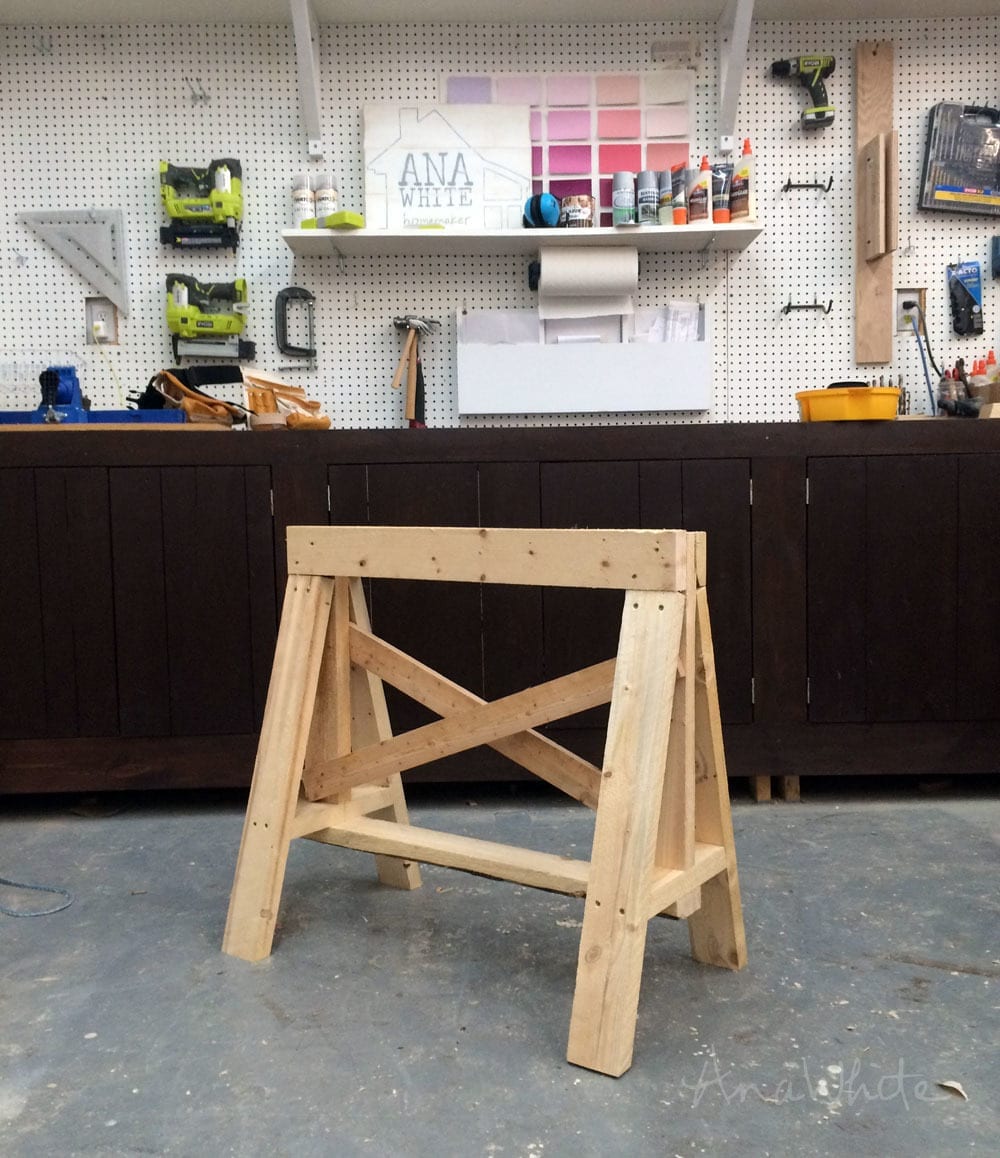
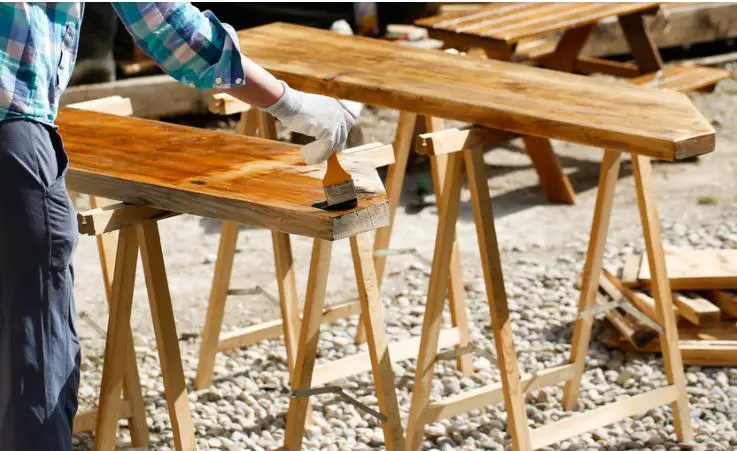
This is a heavy duty sawhorse. It is a folding sawhorse made of timber trestles which is a natural material from solid pine. It gives the final product longevity, strength, durability, and keeps work wood pieces in a very stable position. The fact is that professional carpenters or joiners prefer timber sawhorses than plastic and other materials because they are more stable and durable. It is time to build yours today!
When it comes to building this sawhorse, you will only need basic tools that you normally see on your workshop of job site like a circular saw, hand saw, and jigsaw. You’ll also need drill or screwdriver, paintbrush, and hammer. But take note that these are not necessary. You can be resourceful and creative so you can build your own sawhorse without compromising the quality. Now, you can be confident building your own sawhorse with the help of this plan.
Helpful Link:
http://www.ana-white.com/2015/04/free_plans/easy-heavy-duty-2×4-sawhorses
