#11
Via Shanty-2-Chic
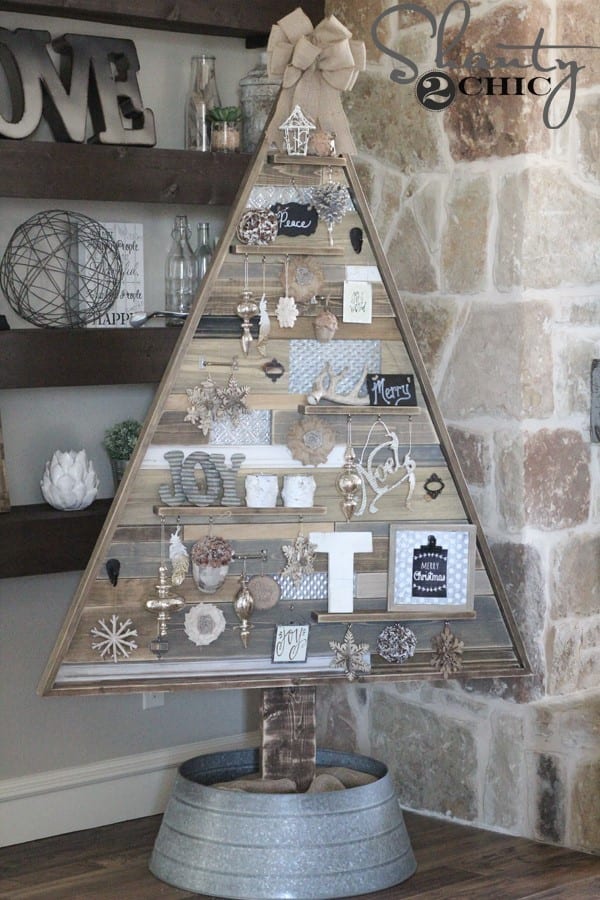
This wooden pallet DIY loos so elegant with its different shades of brown and color as well as the smooth surfaces of the tree. You can achieve this by using different pallets, especially colored ones and sanding them thoroughly.
Word of warning though, when you find colored pallets, we do not recommend its use because often times they are treated with chemicals for the pool industry. If you are having second thoughts about using used pallets then you can always buy a new one, they can be made from hardwood, elm, oak, cottonwood, or maple.
#12
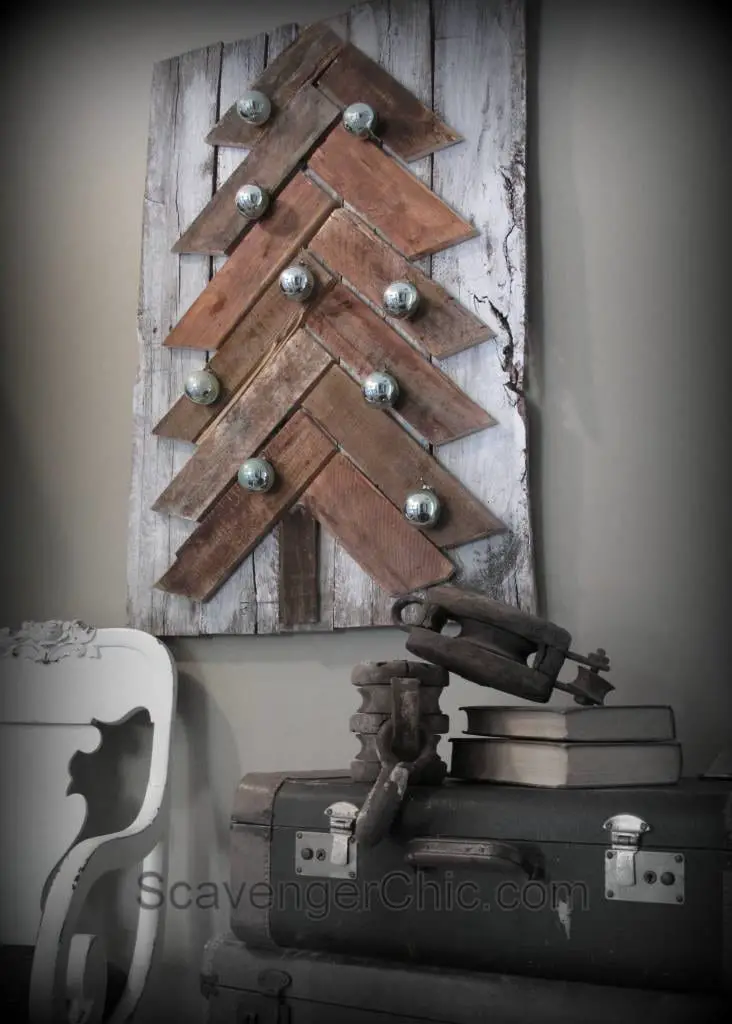
Via ScavengerChic
In comparison to other Christmas tree DIY from pallets, this simple and chic Christmas tree décor is made from pallet wood planks cut straight at one end and 30 degrees on the other.
Stamp markings should be present on your pallets to determine their origin and process. If there are no stamp markings on the pallet, it is probably because it was used for domestic transport and would most likely be safe from treatment chemicals. But it is better to be careful and use pallets with stamps in order to track down how they were treated.
#13
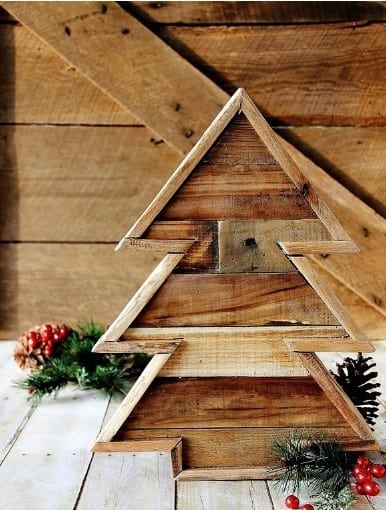
Via thistlewoodfarms
This cute little Christmas tree can decorate your home with a rustic charm without spending a lot. You can DIY this decoration with a simple wood pallet cut to shape like a pine tree and outlined with some more pallets.
One of the woodworking tools you should have is a drill, this is one of the most helpful tools when working on a DIY pallet project to drill holes on your planks.
You should also consider getting a sander, this is particularly, useful for preparing or finishing your wood to remove rough edges and splinters. Safety is important when making DIY projects, so you should get safety goggles and gloves to avoid splinters and wood debris from injuring you.
#14
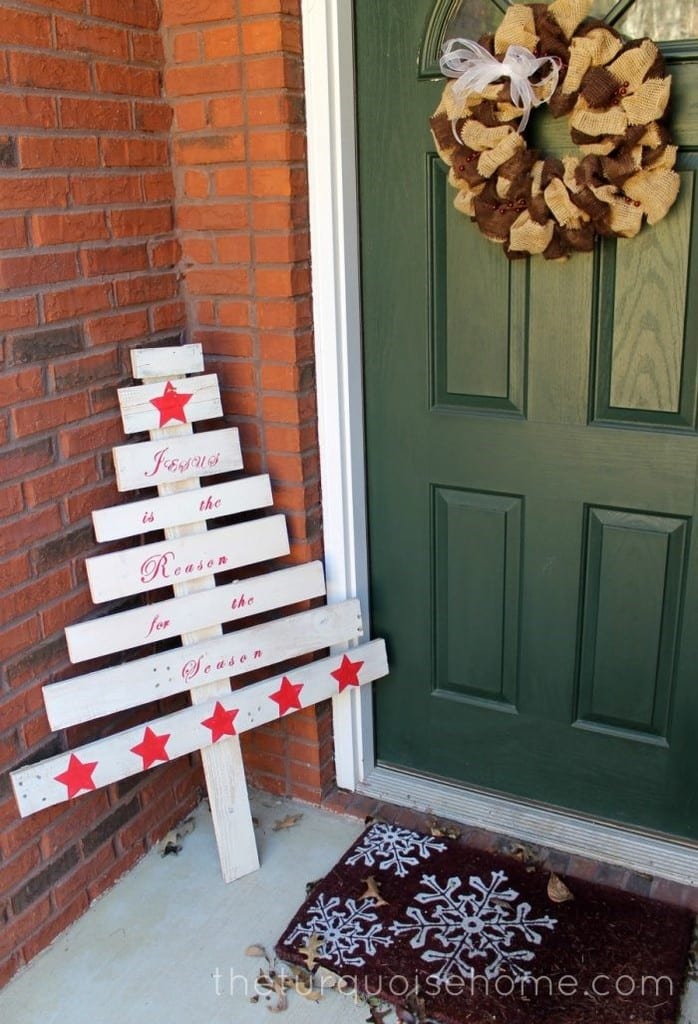
Via theturquoisehome
If you need more than just pallets, it would be best if you use reclaimed wood and lumber as well. A good source of these scraps is construction sites. Discarded mattress box springs also have quality wood in them and are usually in great shape.
Do not be afraid to ask around and ask if you want to take a wooden pallet lying around. And you can even develop good relationships with your sources like construction sites or businesses if you’d like to keep up your DIY. Lastly, you could try online on Facebook or craigslist to find where there are free pallets.
The best way to disassemble your wooden pallets is by cutting the nails. The tool used for this is a reciprocating saw. This can be bought for around fifty dollars as brand new but old and used ones would be cheaper. It is sometimes called a Sawzall.
You have to insert a special blade between the slat and the 2×4 board and cut the nail. Then you can use a special bi-metal style saw blade to cut nails. After removing all the nails, you can do a quick pull out of the slat and you’ll have your ready-for-DIY wood
#15
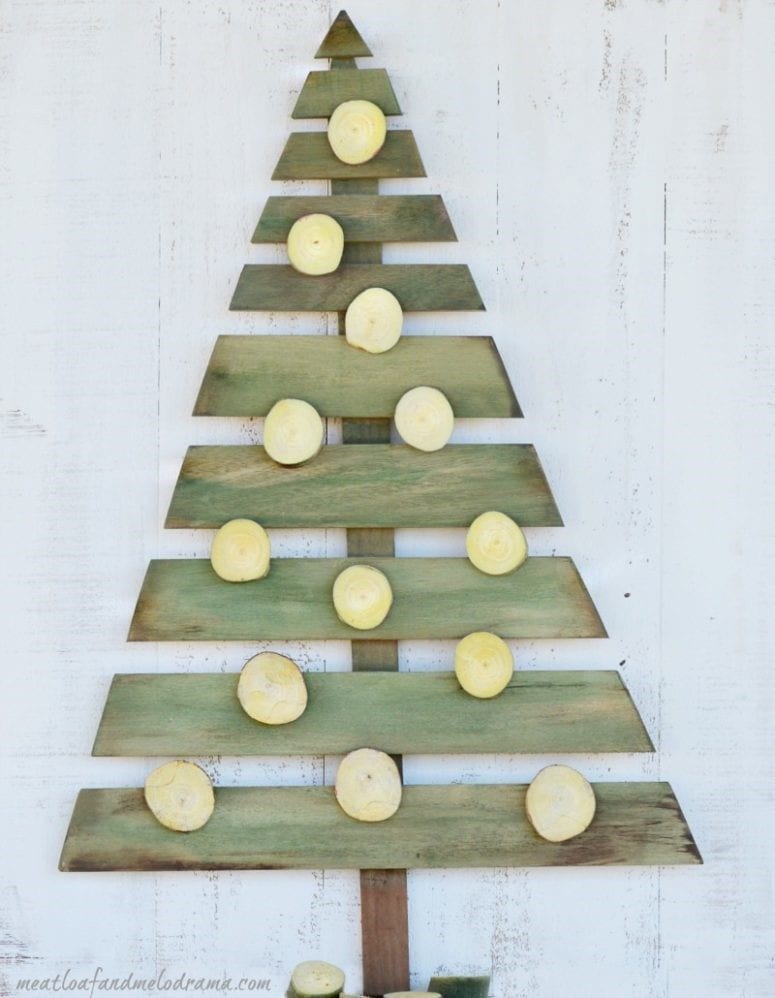
This pretty wooden pallet Christmas tree can be done within an hour or two as long as you already have disassembled pallets. You can get creative and paint on the wood and add some ornaments if you’d like.
When using used pallets, there is safety to be considered. To be safe, you should always use wooden pallets that you are sure are not treated with chemicals. Next, as they are used in another industry they are not as polished as the wood sold for actual furniture making.
You should also try to make sure that you have sanded and/or planed every surface and corner of your wood. As the disassembly might cause for rough surfaces and splinters. You might want to finish by priming and painting it, having a smooth and elegant product at the end.
#16
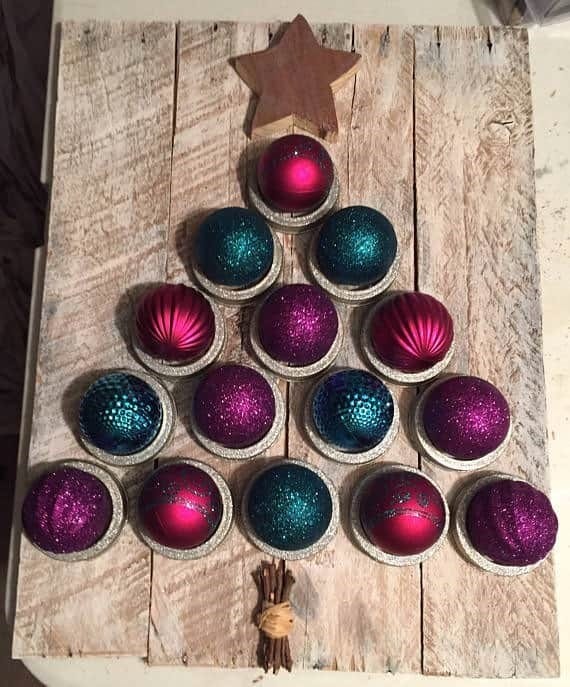
Via Etsy
This idea on Esty is really easy that you don’t need to disassemble pallets. Although this particular idea does not need disassembly of pallets, it would be nice to know the general process of making a wooden pallet DIY. So, here is a general process of making a DIYs from wooden pallets.
First, you would need to disassemble your pallet. To do this, you must cut the nails in the pallet with the handsaw between two tables. Second, you should start on the spine of the tree by using three large boards and cut it into two pieces of the length you would want, with an angle of at least 45 degrees, when done.
If you have the standard American pallet, you should have 8 boards left. Use five of these and cut them to use with the legs. Fourth, do the backrest, have 2 boards cut and glue, nail or screw perpendicularly to the seat you have made. Fifth, join the seat and backrest.
You should support the backrest with a little bit more wood. Finally, finish your DIY with some wood finishing like paint or varnish, you should do this especially when you expect to use it somewhere there is high humidity. Most of all, have fun.
#17
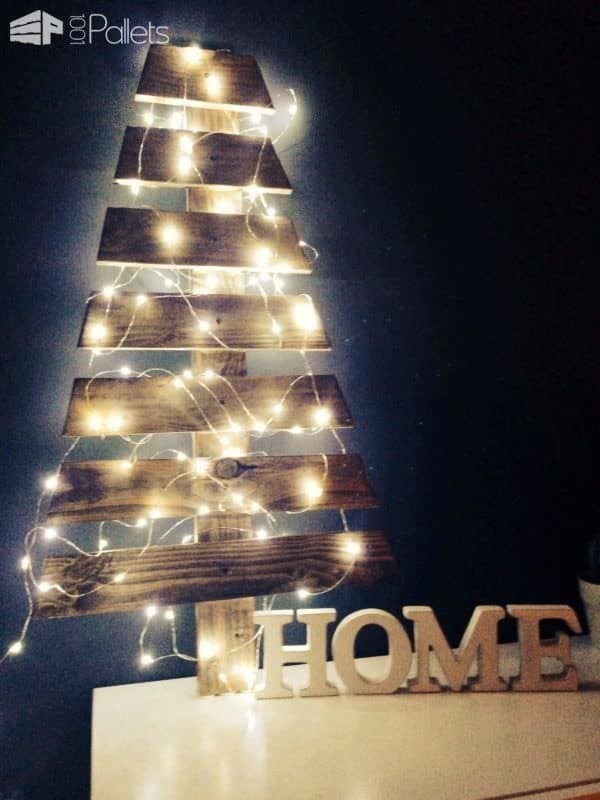
Via 1001Pallets
This Pallet project is like most of the ones on the list but you can decorate it with firefly lights.
Knowing components of the wood you’re going to is useful so here is a quick list on the component of the wood you’re using. The top board is a flat and wide board fastened to the upper part of the pallet. Bottom boards are the flat boards under.
Stringers are the long and vertical planks of the pallets. Notched stringers are stringers with spaced notches and blocks are square or sometime rectangularly shaped boards used in block pallets rather than stringers.
#18

Via 1001Pallets
This amazing idea stands out from the rest because it’s not as flat. Instead of nailing your boards to the spine and getting one face of a tree, you can lay them down and have them stick out on sides. With this, you can have a 3D version of a wooden pallet DIY Christmas tree.
When repurposing your wooden pallets and DIY-ing your furniture, you would need these basic tools: first, a hammer, because starting a DIY project without one is just not possible. Hammers is handy for all DIY projects and it is probably one of the cheapest tools in your toolbox.
Types of hammers are drywall, roofing, framing, sledgehammers, ball peen, and bricklayers. Make sure to choose the one you need for your project. A standard curved claw hammer would be handy.
#19

Via 1001Pallets
This is an easy project as you don’t need to disassemble, you just need to find the right kind of pallet for it. If you do not know the standards of a pallet, here is a quick guideline. Sizes of standard pallets often vary from country to country and largely depends on the usage.
The most common size is 36 by 36 inches and 42 by 42 inches and 48 by 48 inches. In the United States, the most common pallet is 20 by 48 inches.
#20
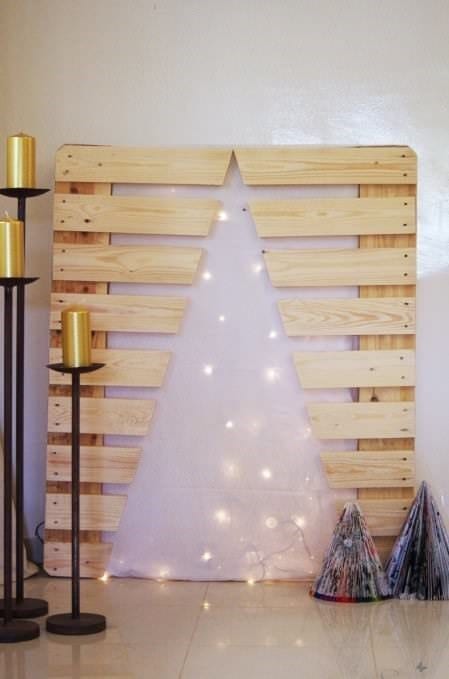
Via recyclart
There’s no end to recycling and upcycling a wood pallet for your pallet wood Christmas tree. The simplest and basic pallet wood Christmas tree is a pallet wood shaped to a triangle which was cut from a single pallet.
Rather than throwing out the pallets left from that project, you can also use it to stand another Christmas tree decoration to a different part of your home. By adding some yellow light Christmas lights, you can easily decorate your house with this country chic look.
When doing DIY’s, especially furniture from wooden pallets, you would generally need basic woodworking tools, here are some that you might have in your tool shed: A screwdriver, a hammer, a handsaw, a chainsaw, wood file, a drill, some sandpapers, wood screws, nuts for your screws, cloves, wood glue, and of course, pallets.
