Using your creativity and carpentry skills, you create beautiful and unique pallet creative art projects. With these ideas, you can be a source of inspiration and realize how much talent you have, and at the same time enjoy every journey and save money.
You can use any available pallet woods as long as you choose heated treated pallets or those with the “HT” stamp. Let’s get started now and find the best art projects made of pallet today!
1) DIY Pallet Console Table by Kleinworth
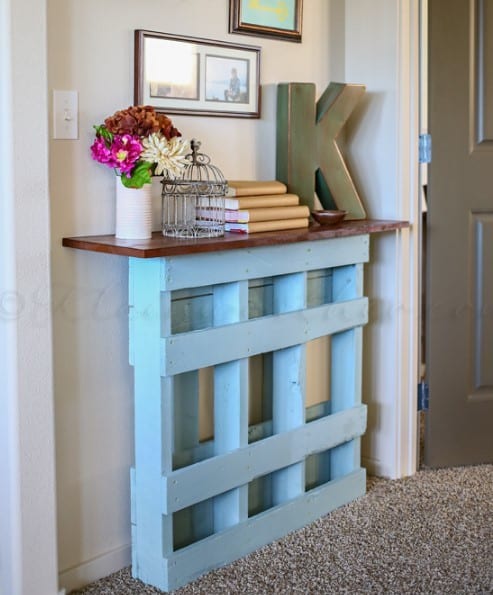
Image Source: https://www.kleinworthco.com/diy-pallet-console-table
You can have a fun time in designing and building at home. Places such as the entry area to the master bedroom of the builder’s home are not wide enough so a full-size furniture piece can be placed.
However, it seemed to be lacking something and it’s not good leaving it empty. The builder decided that a console table is needed there and so the brainstorming started. The builder came up with this beautiful DIY Pallet Console Table to fill up space.
The creative artist used pallets, chalk paint, gel stain, creme wax, and a brush & I got to work. The color theme chosen was vintage with a combination of green, blue, and gray.
For the top, a plank was used that was picked up at the local hardware store, marked, and cut to size. It was sanded to smooth the edges and for a newer look. Wood screws were used to attach the plank to the pallet and metal brackets were used for stability.
https://www.kleinworthco.com/diy-pallet-console-table
2) Pallet Headboard by Cathey With an E
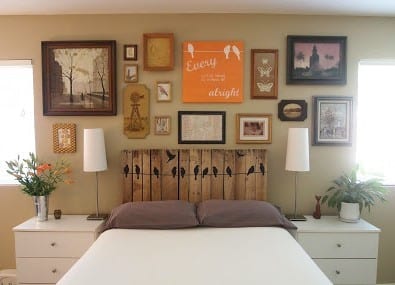
Image Source: http://www.catheywithane.com/2013/08/pallet-love-finished-product.html
The builder originally found a wood pallet in a dumpster on their street in a neighbor’s house doing some renovation. The builder rescued the wood pallets and decided to make a headboard.
However, they were too small. But one day the artist noticed a pallet that was leaning against his dumpster. Being big and beautiful it was with subtle circular marks, it was used to create this headboard project. The slats were close together, making it a good material at that time.
The pallet was cleaned and sanded until it was really smooth. A tack cloth was used to remove all the dirt and dust. A couple of pieces were anchored into the wall at first and the pallet sat above them.
The pallet was screwed on the wall. Some vinyl decorations were used to help the pallet blend into the walls. There are many styles or designs of wall decals you can use out there that can match any room decor.
http://www.catheywithane.com/2013/08/pallet-love-finished-product.html
3) Beautiful Pallet Planter by Country Living
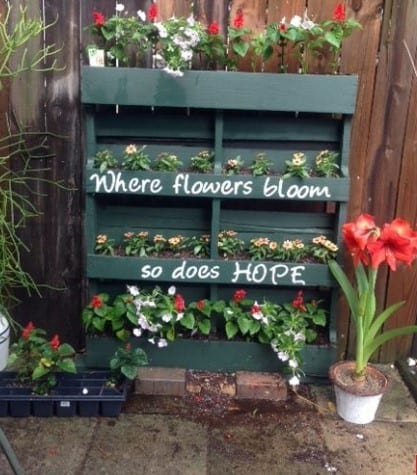
Image Source: https://www.countryliving.com/gardening/garden-ideas/how-to/a35123/how-to-turn-a-wood-pallet-into-a-vertical-garden/
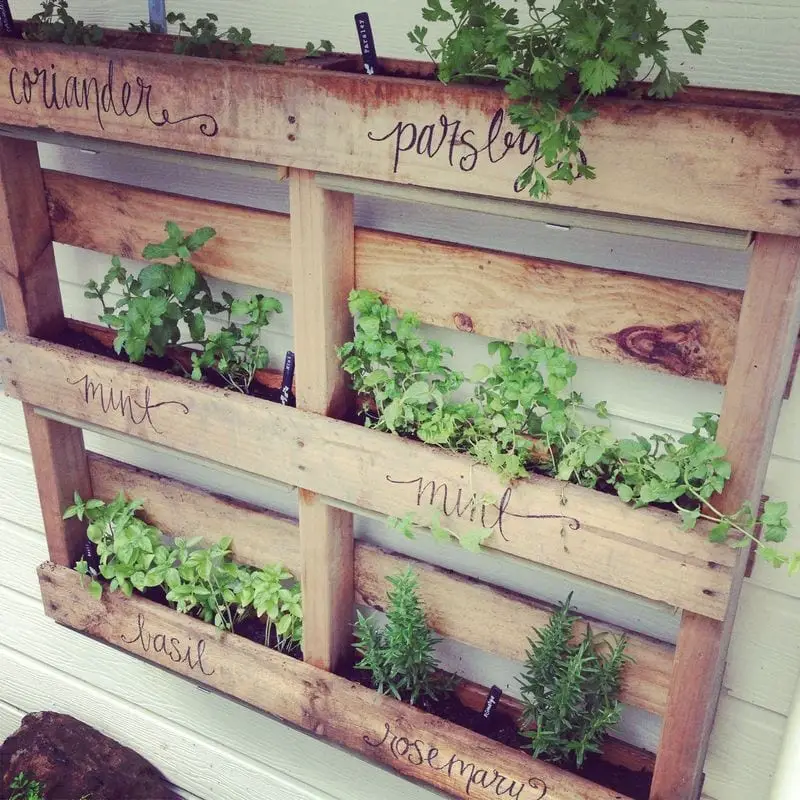
Gardening is a healthy activity, allowing to flex your muscles when presenting your beautiful flowers and plants. Are you thinking of using pallets to build an upgraded planter project?
Yes, it is a great idea! The first thing you’ll want is reinforcing the slats, and nailing some 1x4s to the shelves as well as 2×4 inches to the bottom for extra support.
You can give your pallet planter with a paint job. Paint the pallet planter as you desire using available paint you have left on a major painting project or purchase an affordable paint in a hardware or online.
The final step is to stencil a nice gardening quote for a very inspiring and beautiful finishing touch. Create your very own pallet planter for your roses and daisies soon with the help of this DIY plan. It is really inspiring!
4) Travel-Inspired Pallet Wall Art
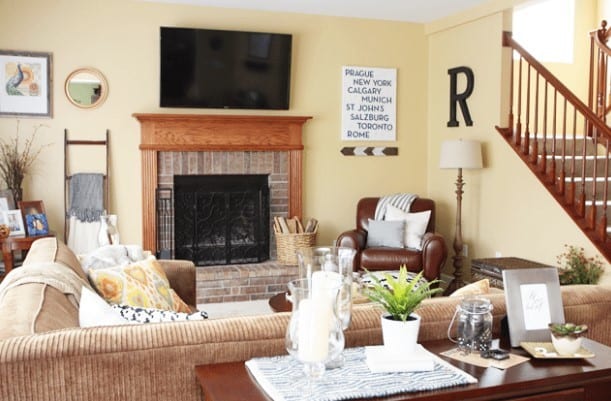
Image Source: https://livelaughrowe.com/summer-home-tour-2014/
You can paint a pallet wood with a uniform paint color then stencil the names of cities you have traveled or visited on your vacations. This is an easy-to-do pallet art project. In addition to this, you can mix and match it with pallet picture frames and coffee table for a complete rustic look.
It is also a good idea building a pallet mail holder or magazine holder. There are many things you can do with pallets. Be creative and use this idea to create yours.
The basic tools and materials you’ll need are sandpaper, paint, table saw, screws, screwdriver, and drill. You don’t have to be highly-skilled in carpentry to build pallet projects. It will save you a lot of money as compared to buying home decor or similar items online or in art craft stores.
5) Pallet Wine Rack by The Kurtz Corner
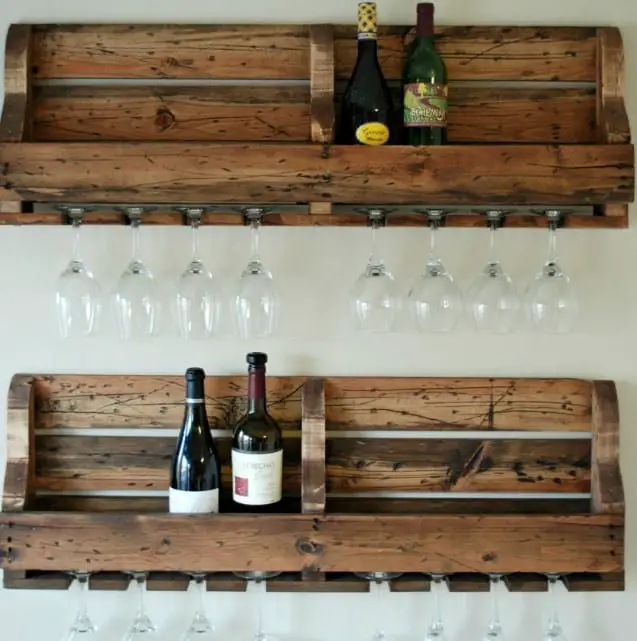
Image Source: http://www.thekurtzcorner.com/2013/02/diy-wine-rack.html
The materials you’ll need for this pallet wine rack include wood pallet, white wood, wood screws, sandpaper, wood stains, jigsaw, miter saw, reciprocating saw, hammer paint brush, drill bit, clamps, power drill, and wood glue.
You’ll need a wood pallet without blocks for this pallet wine rack project. Remove the frame boards using a reciprocating saw and use the metal cutting blade for cutting through the nails.
Just leave the two frame boards on each end to create the starting frame of your wine rack. It will maintain the rustic look and integrity of the nails used.
Another step is laying out the boards you removed and beating the unwanted elements with a hammer! It will be the front base surface. The builder used two stains with a lighter and dark stain.
The dark stain emphasizes the beat areas and the lighter stain is used for the other parts. The next step is sanding away the excess stain. Testing your stains is important before doing the next steps.
Do it on a practice board. This is a really cool DIY pallet wood project you can do on a weekend to challenge your carpentry and planning skills. Create yours now!
http://www.thekurtzcorner.com/2013/02/diy-wine-rack.html
6) Pallet Deck Cooler by Hollow Cottage
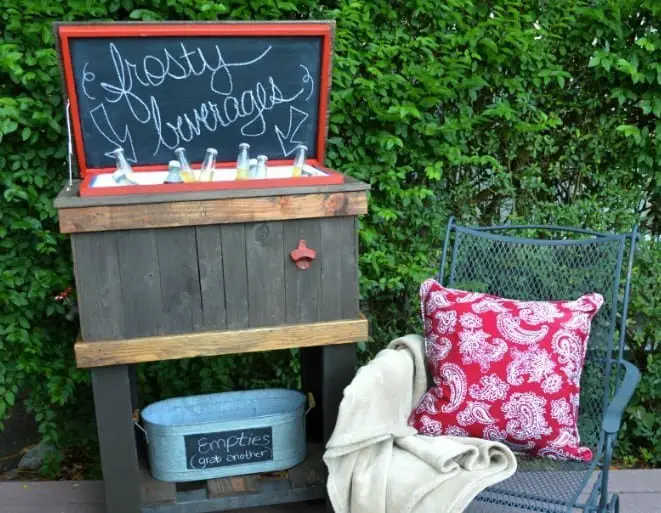
Image Source: https://foxhollowcottage.com/how-to-build-a-wood-deck-cooler.html
A pallet deck cooler is a creative idea. To build this project, you need to start with the legs by using eight 2×4 feet wood pallet cut in similar length. To build each leg, use nails using two 2×4’s. This deck cooler is perfect for pool, summer, patio, deck, and porch parties. Add your style with a twist using stain and paint.
Flipping your cooler upside down and working from the bottom up will determine the depth of the cooler needing to sit in the base. It will also determine how and where to attach the legs.
Measure and make your cuts to attach the legs. Placing and nailing-in the pieces between each leg were also done. To make the lid, you can use 1 by 1.5-inch pallet wood by measuring the outside of the trim so it will close flush.
You can add a chalkboard feature as a fun element, perfect for family gatherings and celebrations. You’ll always look forward using this pallet DIY cooler on any event or occasion!
7) Wood Pallet Arrow by Love Grows Wild
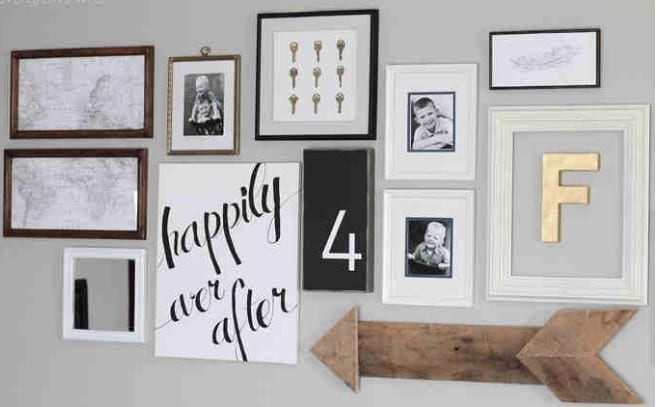
Image Source: http://lovegrowswild.com/2014/04/diy-wood-pallet-arrow/
Add this perfect pallet project to your living room gallery wall! This is a tutorial for creating a rustic and wood pallet arrow. It is very simple to make and it adds a big shout-out for your living room, bedroom, or any room. The things you’ll need for this project include miter saw, wood pallet, clamps, screws, wood glue, sawtooth hangers, and a drill.
For the construction process, the first step you will need to do is breaking down the wood pallet. Pry the boards apart. Use a reciprocating saw and separate the boards.
The builder used two boards for this project that were left and saved for the rainy days. Cut the boards to four pieces using a miter saw. Cut a 5 ¼-inch wide pallet board to 24 inches long for the body piece (long).
For the point or tip of the arrow, cut a 5 ¼-inch wide board to 8 ½-inch long. It is formed with 2 40-degree cuts toward the center. Cut a 5 ¼-inch wide for the tail on a 45-degree angle to 7 1/2 by 5 ¾ inches.
8) Rustic Pallet Wood Clock by Thistle Woodfarms
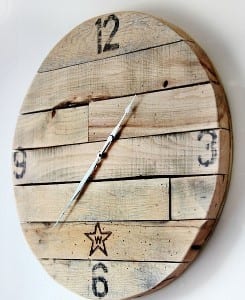
Image Source: https://thistlewoodfarms.com/trash-to-treasure-how-to-make-a-pallet-wood-clock/
To make a pallet wood clock, you’ll need pallet boards. You can also use a reclaimed lumber. Also, you need plywood, wood glue, jigsaw, nails, gloves, and safety glasses.
The first step is to disassemble the pallet and ensure you wear gloves and safety glasses. Next, remove the wood pallet boards and rip the board down the middle. The board measures 2 ½ inches wide.
The next step is cutting out a piece of plywood measuring 24 inches in diameter. This circular clock has a diameter of 4 inches. You can lay the pallet wood pieces end to end by staggering them on top of the circle made of plywood.
The next steps include gluing, nailing, and cutting the circle. Cut the circle using a jigsaw. For the clock hands, purchase a high-torque to ensure longevity. Now, you won’t miss the time!
9) Moss Monogram by Design Dining and Diapers
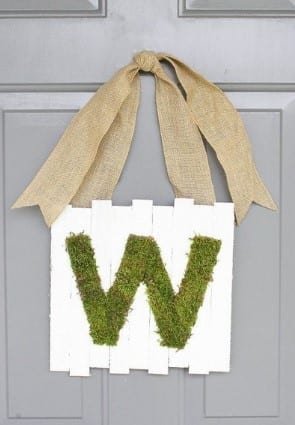
Image Source: http://designdininganddiapers.com/2013/03/moss-monogram-door-sign-for-spring/
It is nice to decorate a house during spring or warmer temperatures. Aside from adding plenty of fresh flowers and greenery, you can try this moss monogram pallet creative project.
If you’re looking switching out your long-time winter door decor for a newer and fresher look, you can try this easy wood pallet craft today. It will be a great addition to your lovely home!
The supplies you’ll need include a pack of wood shims, preserved sheet moss, gorilla wood glue, acrylic paint, monogram stencil, glue gun, paintbrush, and 3-inch ribbon.
First, remove the wood shims and lay two shims on both sides, placing a line down the middle toward the shims. Be cautious because there might be differences in the thickness since shims aren’t even.
For the final step, add a ribbon to complete the look of your monogram moss and hang on the door or anywhere you desire.
http://designdininganddiapers.com/2013/03/moss-monogram-door-sign-for-spring/
10) Pallet World Map by The Merry Thought
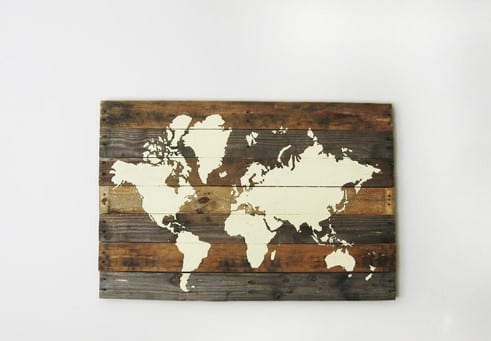
Image Source: http://themerrythought.com/diy/pallet-board-world-map/
Are you a geography fanatic? The builder love maps and this pallet world map is really amazing! The tools and materials and tools you need in creating this project include pallets, a hammer, saw, tracing paper, pry bar, carpenter pencil, online map, latex paint, and paintbrush. You’ll be amazed at the final result of this pallet project.
For the steps, the first thing you need to do is to pull the pallet boards apart with the use of a pry bar and hammer. Next, line up the boards on your desired configuration and saw.
Nail the pieces together using extra boards. Three were used in the middle and two for the edges. Print the world map for a 3 x 4 feet project. Use a pencil and trace on the tracing paper.
Next, follow the trace lines you have drawn on the pallet boards with a black permanent marker. Apply paint and color the continents.
