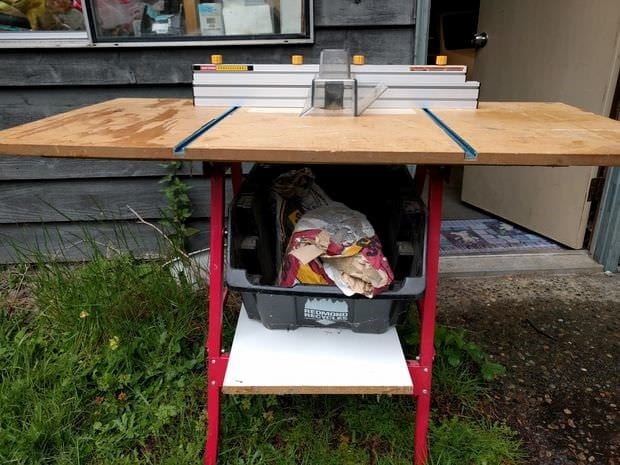
21) Garbage Can Dremel Router Table DIY
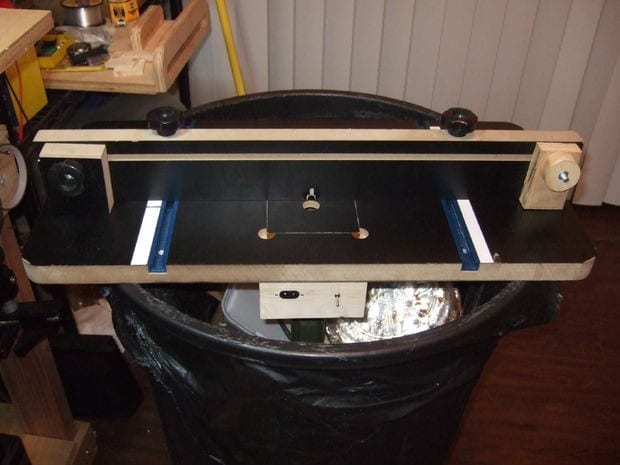
Just like the garbage can router table plan, this router uses a large garbage can to hold the outer body and the router table surface. Made from a thick piece of lumber, the table top surface has a small, standard opening at the middle where the router tip is at. The fence can be moved farther to accommodate large wooden pieces and to make more complicated shapes and cuts.
This router top has been fastened on the top of the can with screws and since the can’s rim is larger than the router table, dust can easily fall along the side and into the can. A safety switch has been constructed and placed at the front of the table so you can easily power off the router in case of an emergency.
This is easy to build and efficient router table design. The garbage can is steadied with the use of large sandbags or hollow blocks placed inside the can. Have all the materials and tools ready and you’ll be able to complete this design in just a matter of hours.
https://www.instructables.com/id/Garbage-Can-Dremel-Router-Table/
22) Shop-Built Router Tables
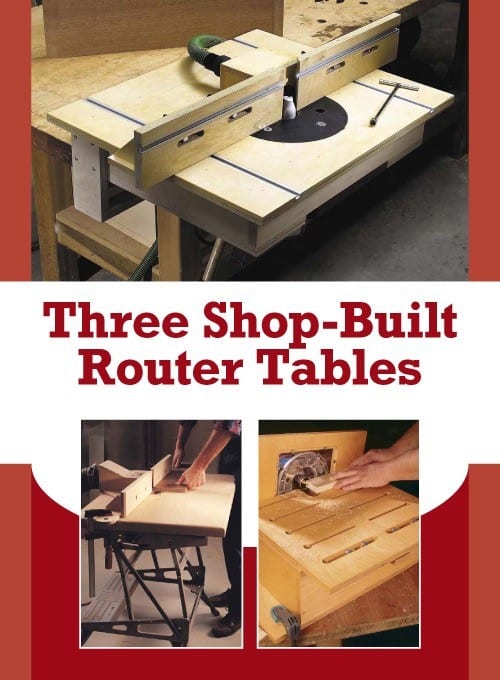
This is a collection of three of the best router table designs that you can use for your workstation or shop. These three designs were made from tough pieces of lumber and are actually very simple designs that you can actually work on in just a matter of days.
The first design is a benchtop router table that has a moderately-sized table with a completely moveable fence, a space for the dust port and a level area to do all your work.
The second design is a router table that was fitted on top of a metal table frame which is the size of a regular workbench. The router table is plain and simple with a moveable fence with a dust port in the middle.
The third table uses a large circular saw instead of a router with the saw installed vertically from the workpiece. This was made from superior wooden components which can efficiently shape and shave a workpiece safely and effectively.
https://www.popularwoodworking.com/wp-content/uploads/ThreeShop-BuiltRouterTables.pdf
23) Bench-Mounted Router Table
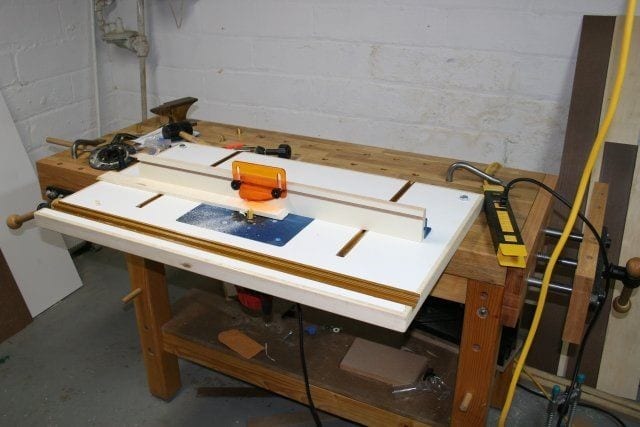
This is a router table that is designed to be mounted on an even and flat surfaces like a benchtop or working table. This was designed to provide a large space to work with. The middle of the table lies the router tip which can spin fast or slow depending on the piece or material that you wish to shape or cut. The fence is smaller than the length of the table which can be moved forward or backward depending on the project that you want to complete.
Since this router table is just a bench-mounted design, this was designed to be removed once you are done and set up easily. This is considered one of the easiest to build which can take you a few hours to complete.
https://www.instructables.com/id/Bench-mounted-Router-Table/
24) Ultimate Router Table Plan
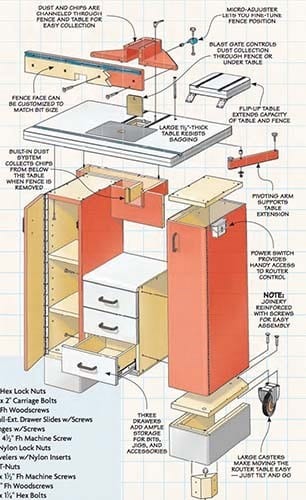
This is a plan to make the ultimate router table which is basically not just a router table but also a cabinet that can house the router body, additional tools and router attachments and accessories. This router table design has been cleverly thought of with every component designed to be part of something.
The router table is moderate-sized with a wire fence with a slot in the middle to hold the router tip and a dust port. The fence is completely movable and can be moved forward or back. This router table has cabinet components that were built from scratch.
The cabinets will also let you work neatly as it can hide the outer body as well as a small shop vac inside one of its large cabinets. You can move this router table and cabinet to where you wish to work because of its sturdy wheels for table legs.
This looks like a complicated build but nevertheless can be accomplished slowly and carefully in just a few days.
http://www.lakewoodies.asn.au/index_htm_files/dn3105-router-table.pdf
25) The Rolling Router Table
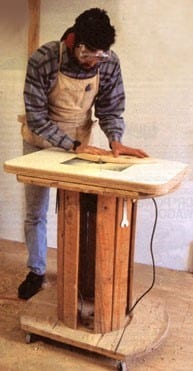
This is a plan to make a rolling router table which is a good idea if you need to transport your router to a different place where you need to work. The table was made from pieces of reclaimed wood, sanded and cut to create an area where the router tip will be placed. The table surface has a smooth area where you can work on. The table neatly holds the router in place.
This is a simple table that has large and durable wheels. This can be rolled to where you want to work and keep you from using only a small table in routing different projects. You can work on this project in just days but make sure you have all the materials and tools for this handy.
http://www.motherearthnews.com/diy/woodshop-tools-zmaz96jjzgoe.aspx
26) Ultimate Router Table 2
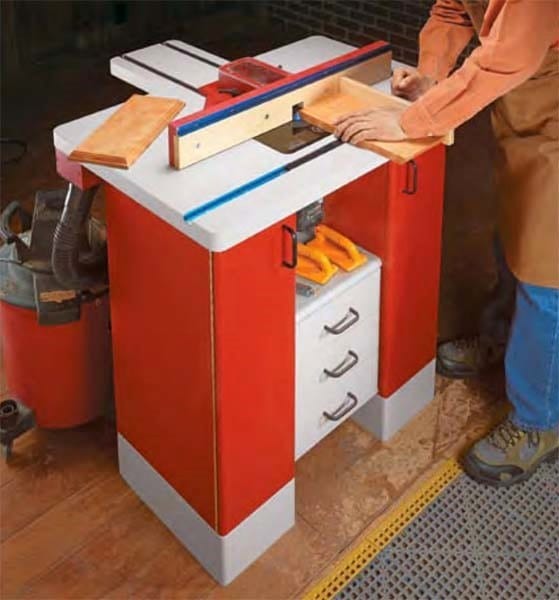
This is a router table and cabinet in one. The table top was mounted on top of a cabinet with shelving, drawers and enough storage space. This looks perfectly made with the table’s soft corners, smooth surface, and lovely coating. The router table top has a router tip in the middle and a frame with a hollowed middle to accommodate the router tip and to hold the workpiece in place.
The frame can extend to the back with a still extra room that extends beyond the table. A pressure jig is on the front which allows you to make more complicated cuts and shapes. A dust port has been constructed near the router tip and this removes the dust and dirt from the workpiece so you can clearly see what you are doing.
The router cabinet was well-constructed with drawers, cabinets and enough storage space to keep your power tools, hand tools, and other router accessories. This table does not have any wheels so it can’t be moved to another area in your workshop.
This project is quite complicated to build and it needs more than just the basic woodworking skills and knowledge to build this project. You may ask a contractor to build this for you and use these plans as a template or inspiration.
http://www.sawdustmaking.com/Router%20Table/simple_router_table.htm
27) Simple Router Table 2
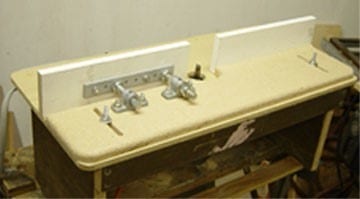
This router table looks like it was constructed out of an old table. The table top looks smooth and wide. The fence is wide with space at the middle to make way for the router tip. It can be moved forward or back to make room for bigger workpieces. The router tool is hidden from view underneath the table top while the table has simple storage underneath as well.
This is a router table plan that should inspire you to make your own table even out of old or reclaimed furniture. This is an easy task which should not take more than a few hours to make. Make sure that you are reclaiming a strong table, a table that can withstand the weight of a router and your workpiece. Once you find a good table, stabilize its legs before you start constructing your router table top.
http://www.sawdustmaking.com/Router%20Table/simple_router_table.htm
28) Router Table-Mate
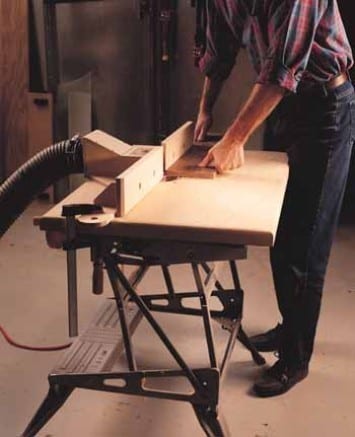
Just look at the wrought iron legs of this worksite router table. It is strong to hold the weight of the new router table plus the additional weight of a workpiece. The table top has the router tip too far back and an adjustable fence holds the workpiece in place. A shop vac attachment has been constructed near the moving tip so it’s a guarantee you will have a clear view of your workpiece all the time.
The table is low and is non-adjustable therefore you might want to adjust its height so you can hold the workpiece better. You may also place additional clamps, a pressure jig, and some storage at the bottom of the table to be able to store supplies, accessories and additional hand and power tools.
29) Router Table Cabinet
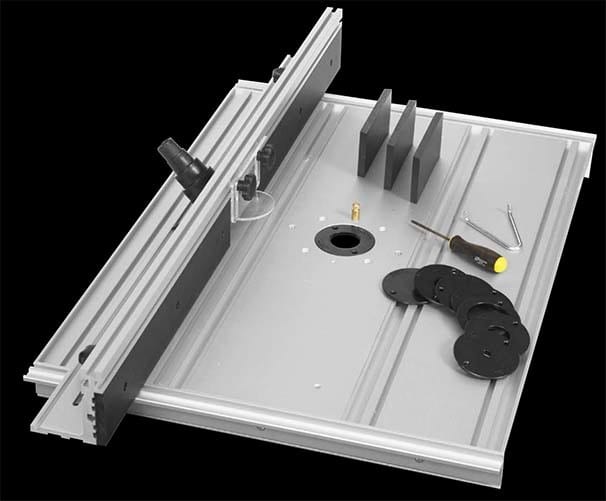
This is a plan for a simple table router top with all the important parts you will need for any type of routing project. This router table top has a wide fence, wider than the width of the table. A small hole in the middle is where the router tip will emerge ready for any routing task. The fence has a dust port system in the middle, eager to catch dust and dirt from the workpiece.
Although this looks like a pre-fab router top system, you may use this as an inspiration to be able to create the ideal workplace for your cutting, shaping and routing needs.
https://sommerfeldtools.com/pdf/router-table-instructions.pdf
30) Stow-and-Go Router Table
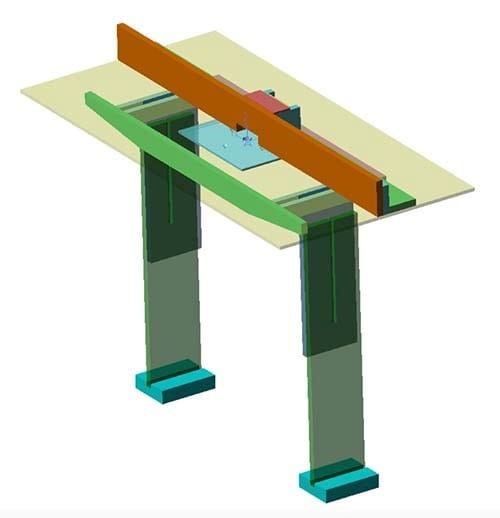
This is a computerized image of a router table made from very simple materials bearing a very basic router table design. This table may only have two legs but these are strong and steady legs to keep your table from moving as you use the router.
The router is housed at the bottom of this table as its tip emerges from the table top. The table top is supported by large parallel beams to further steady it. An extra-wide fence keeps the workpiece from moving.
This can be moved far back to accommodate larger and more complicated workpieces. A convenient dust port system is found in the middle of the fence which keeps this area clean and dust-free.
This is a fairly easy design and can be done in a day. However, you must make sure that the materials you use must be strong and able to withstand long hours of use and abuse.
